 "way2blu does a rev update" (way2blu)
12/29/2016 at 15:06 • Filed to: Project car heaven
 7
7
 6
6
 "way2blu does a rev update" (way2blu)
12/29/2016 at 15:06 • Filed to: Project car heaven |  7 7
|  6 6 |
Without a maintenance guide for the vehicle, I realized it would be necessary to “wing it.” My first task would be to remove sixteen cylinders’ worth of engine.
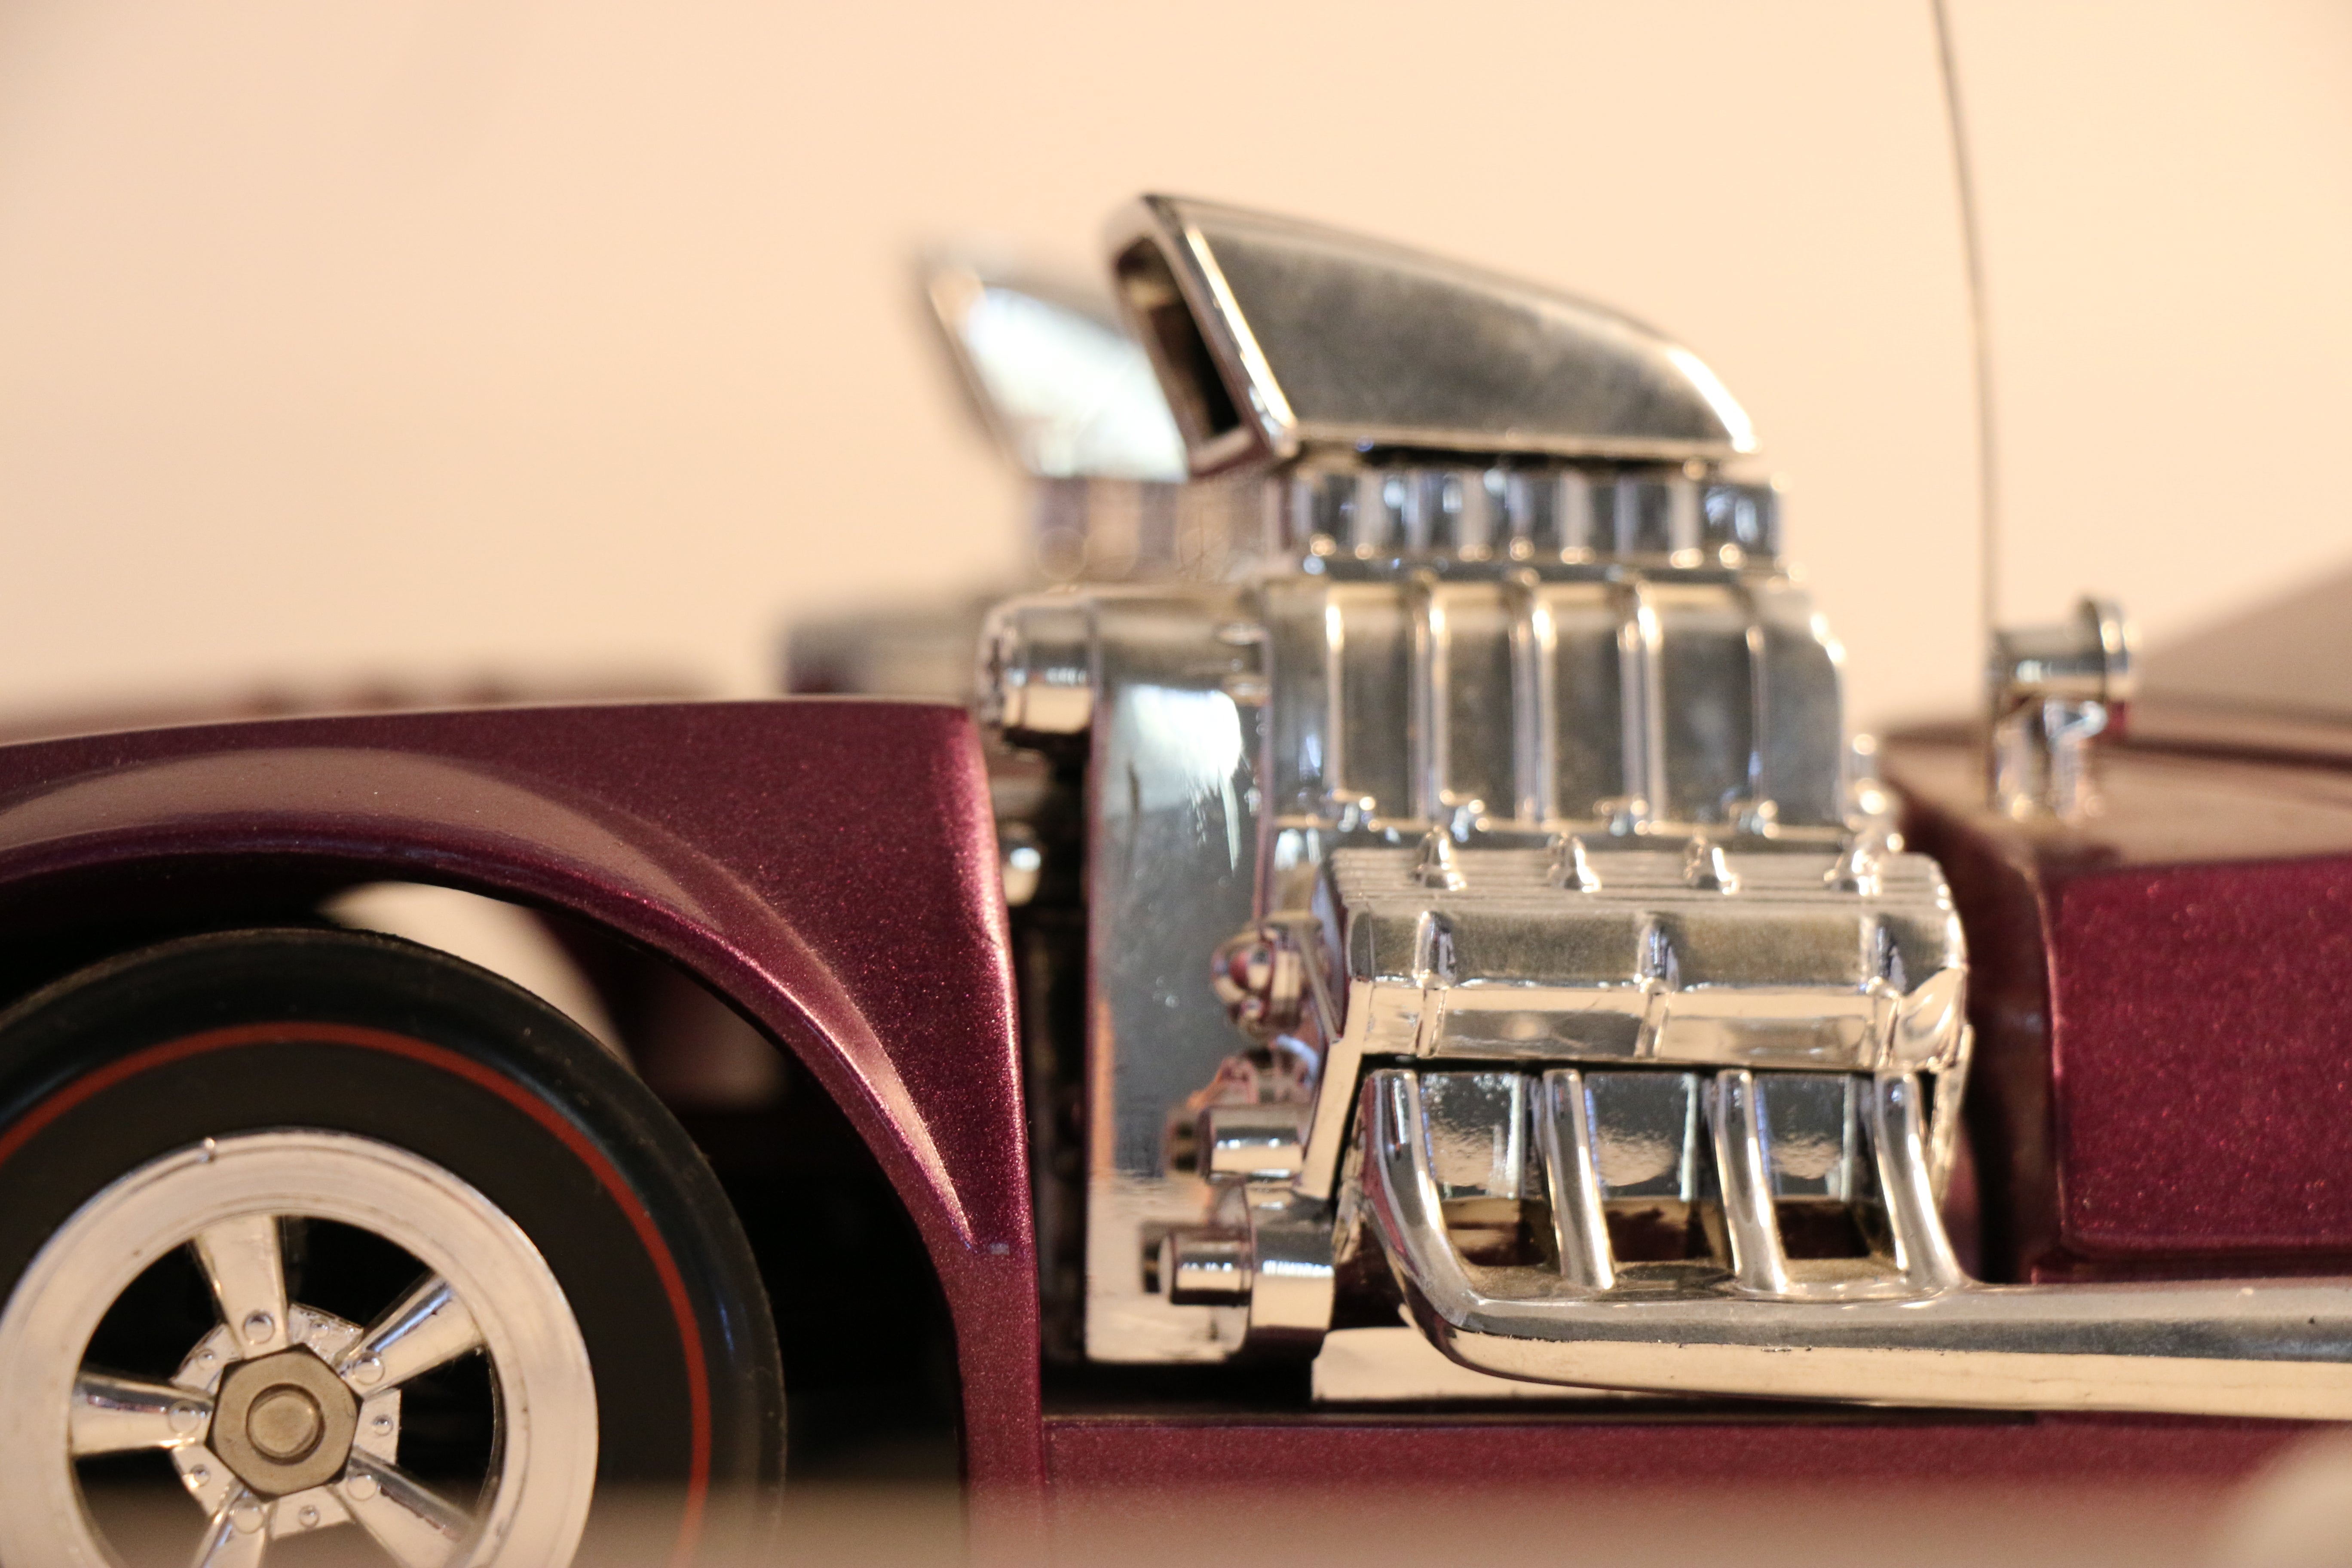
This looked relatively straightforward, as both engines essentially sit outside the car already. Looking under the vehicle, I found the engine mounts I’d need to disconnect:
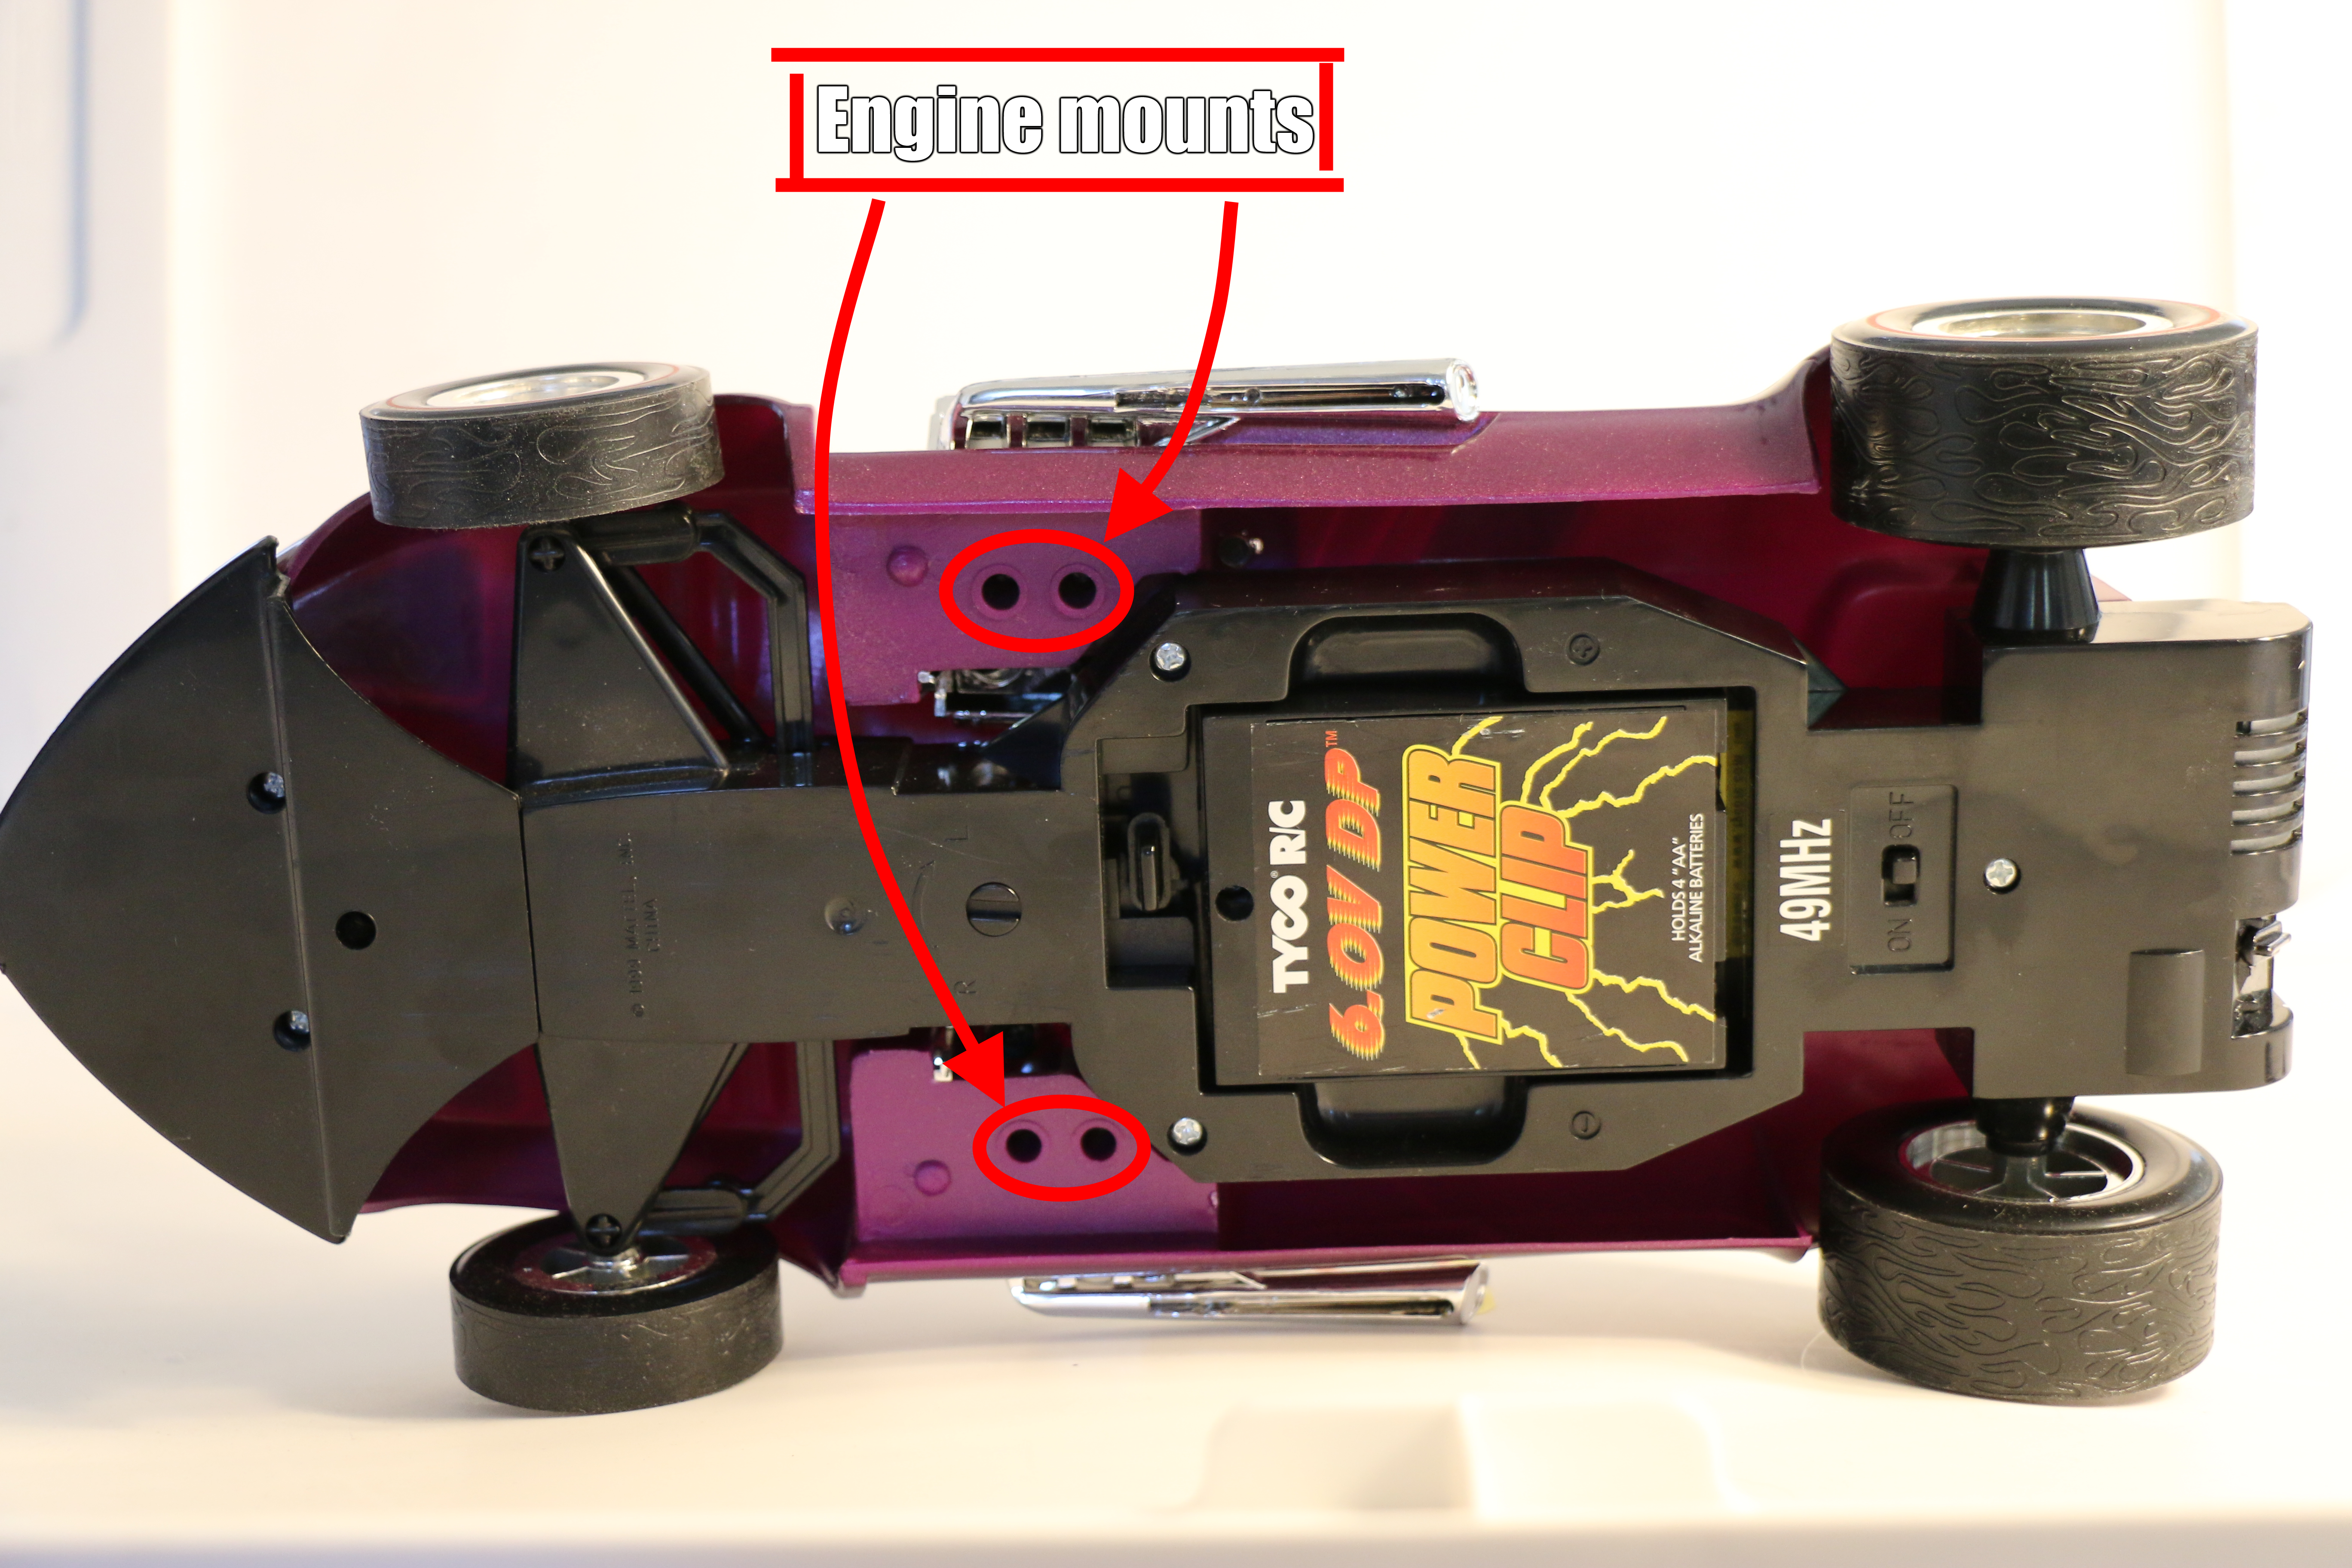
I removed the battery pack (very dead) before beginning the teardown.
After finding an appropriate screwdriver for the task, I removed the four bolts holding the engines in place. To my surprise, the engines still could not be removed. I realized that the engines and the body of the car were connected directly. Next step: remove the Plum-Crazy-painted bodywork.
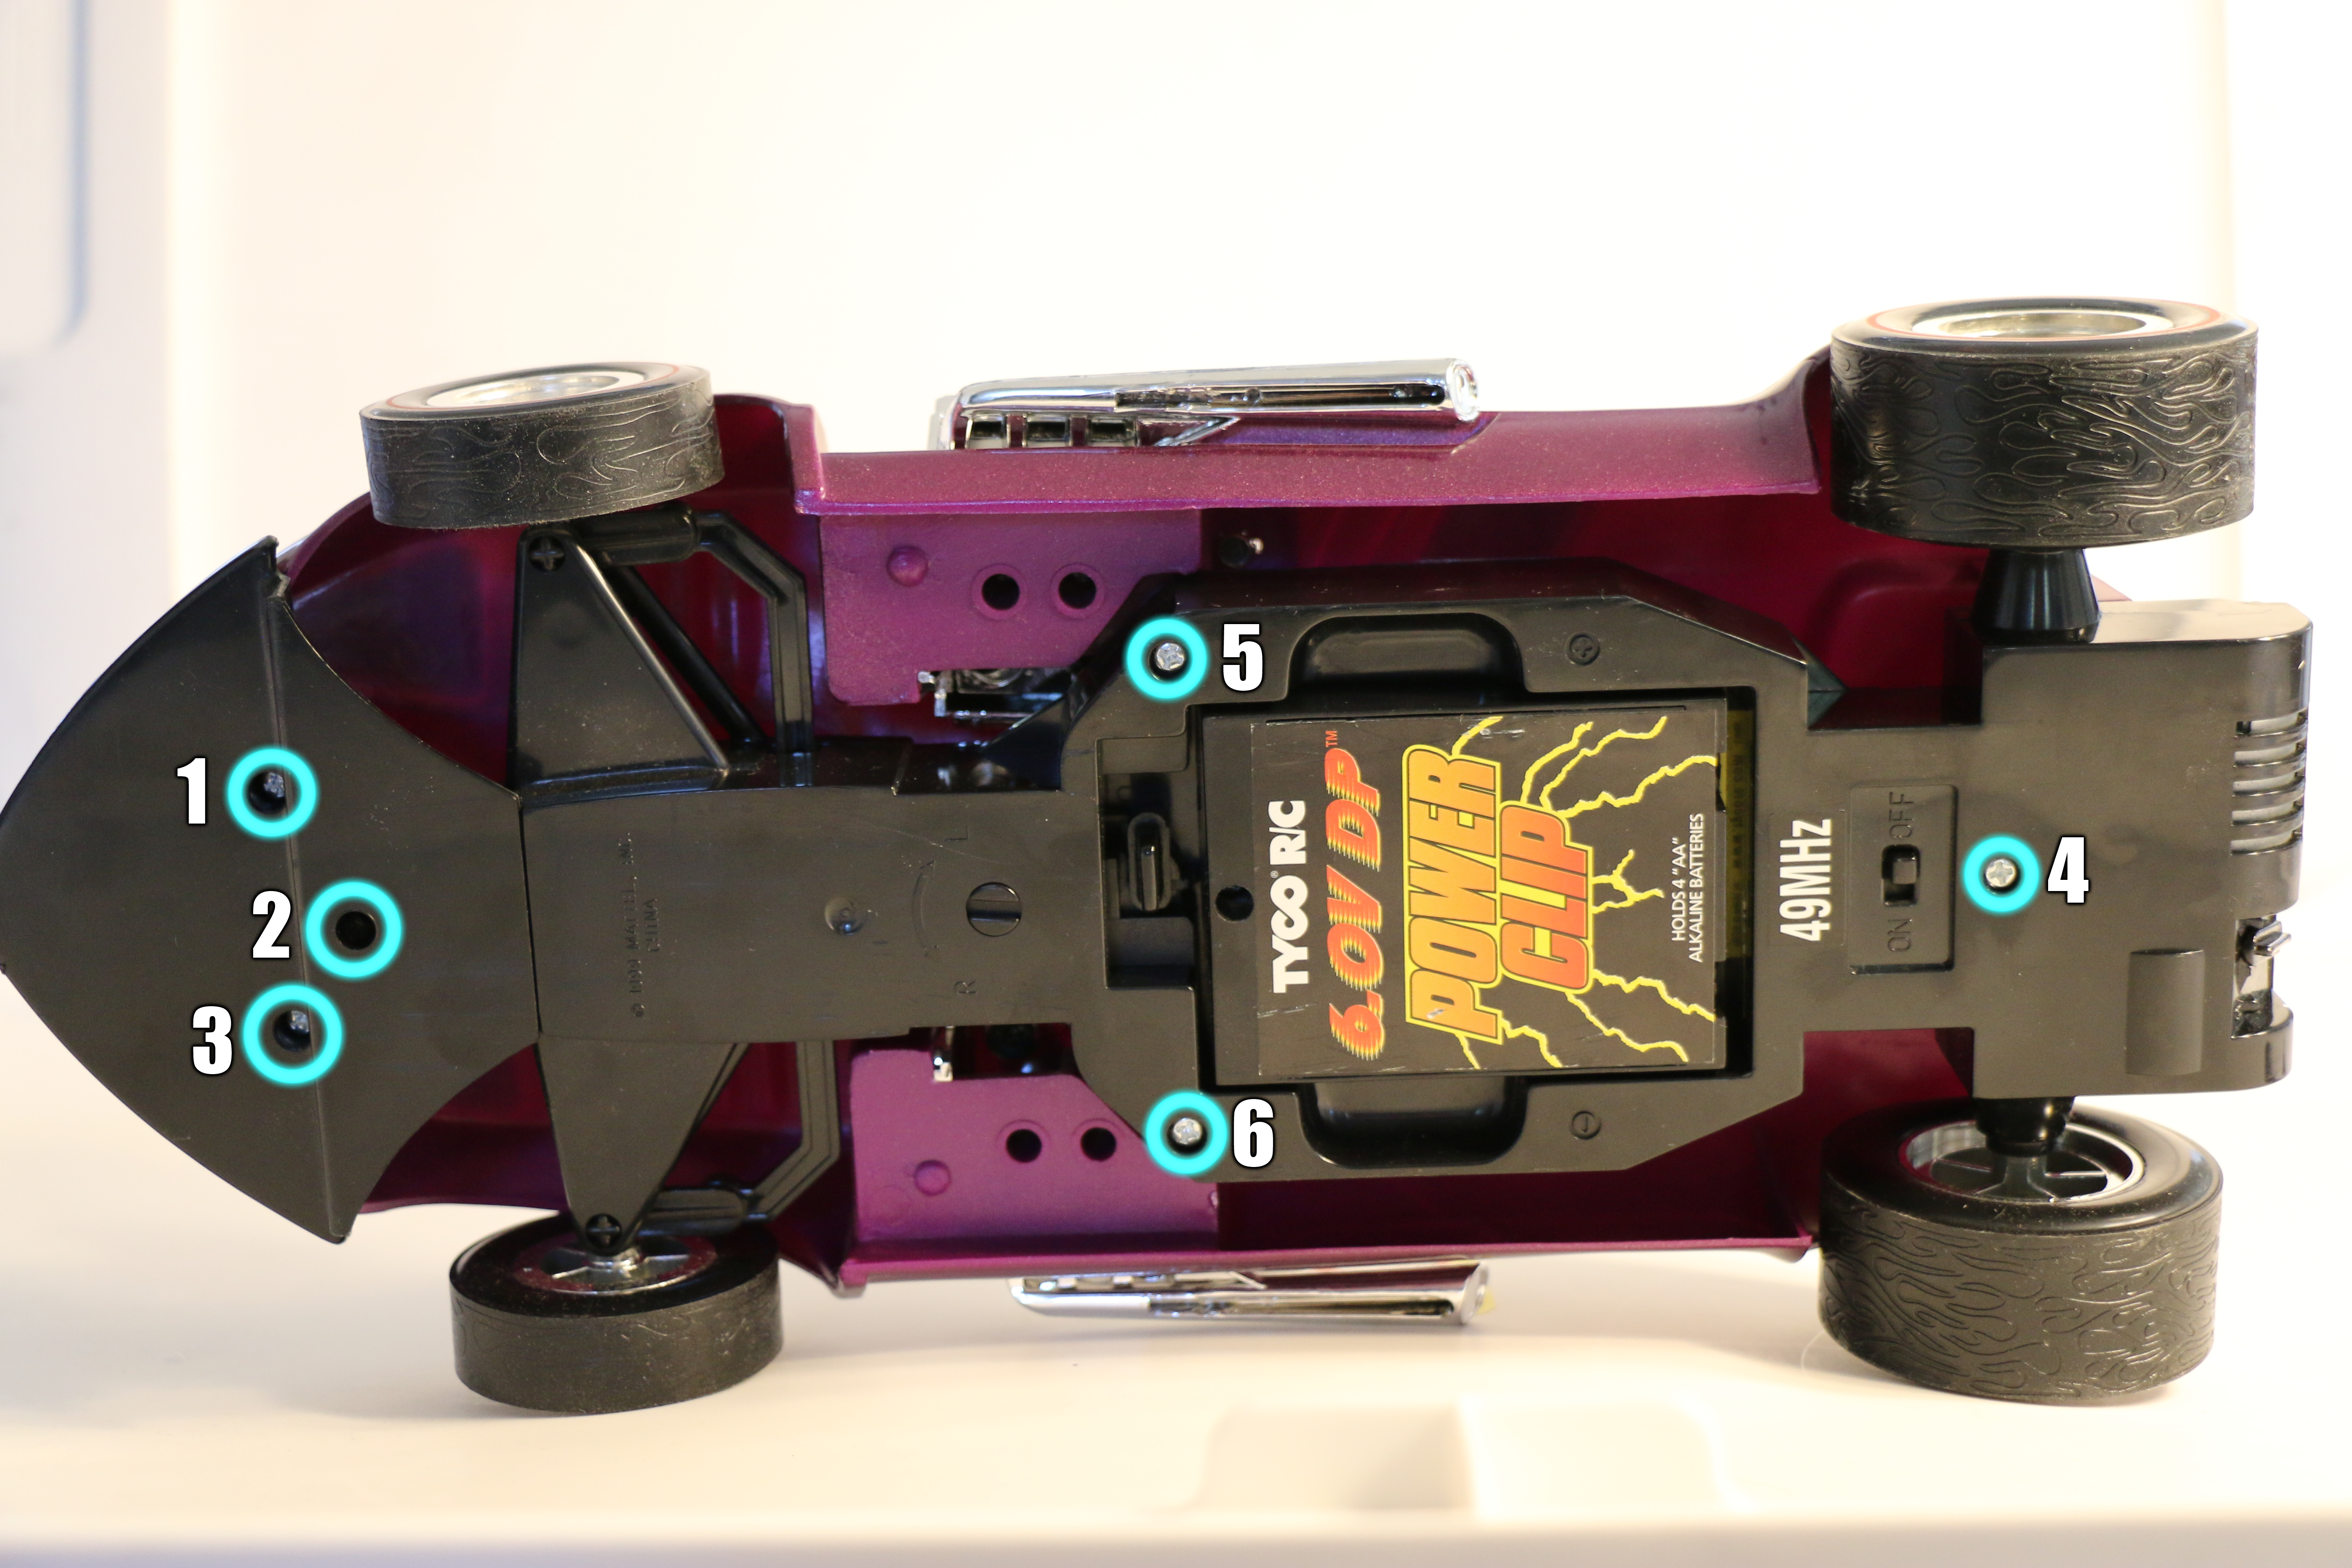
Same image, but with the order I removed the bolts. Maybe not actually Plum Crazy.
I started with the front of the car. Once the three shorter bolts from that end were removed, I disconnected the rear bolt and found it to be identical to the engine mounting bolts. I saved the ones in the middle for last, since I wasn’t sure if they connected to the bodywork or something else inside the car. Turns out they were the last pieces holding the bodywork in place, and also the same length of bolt as the engine mounts.
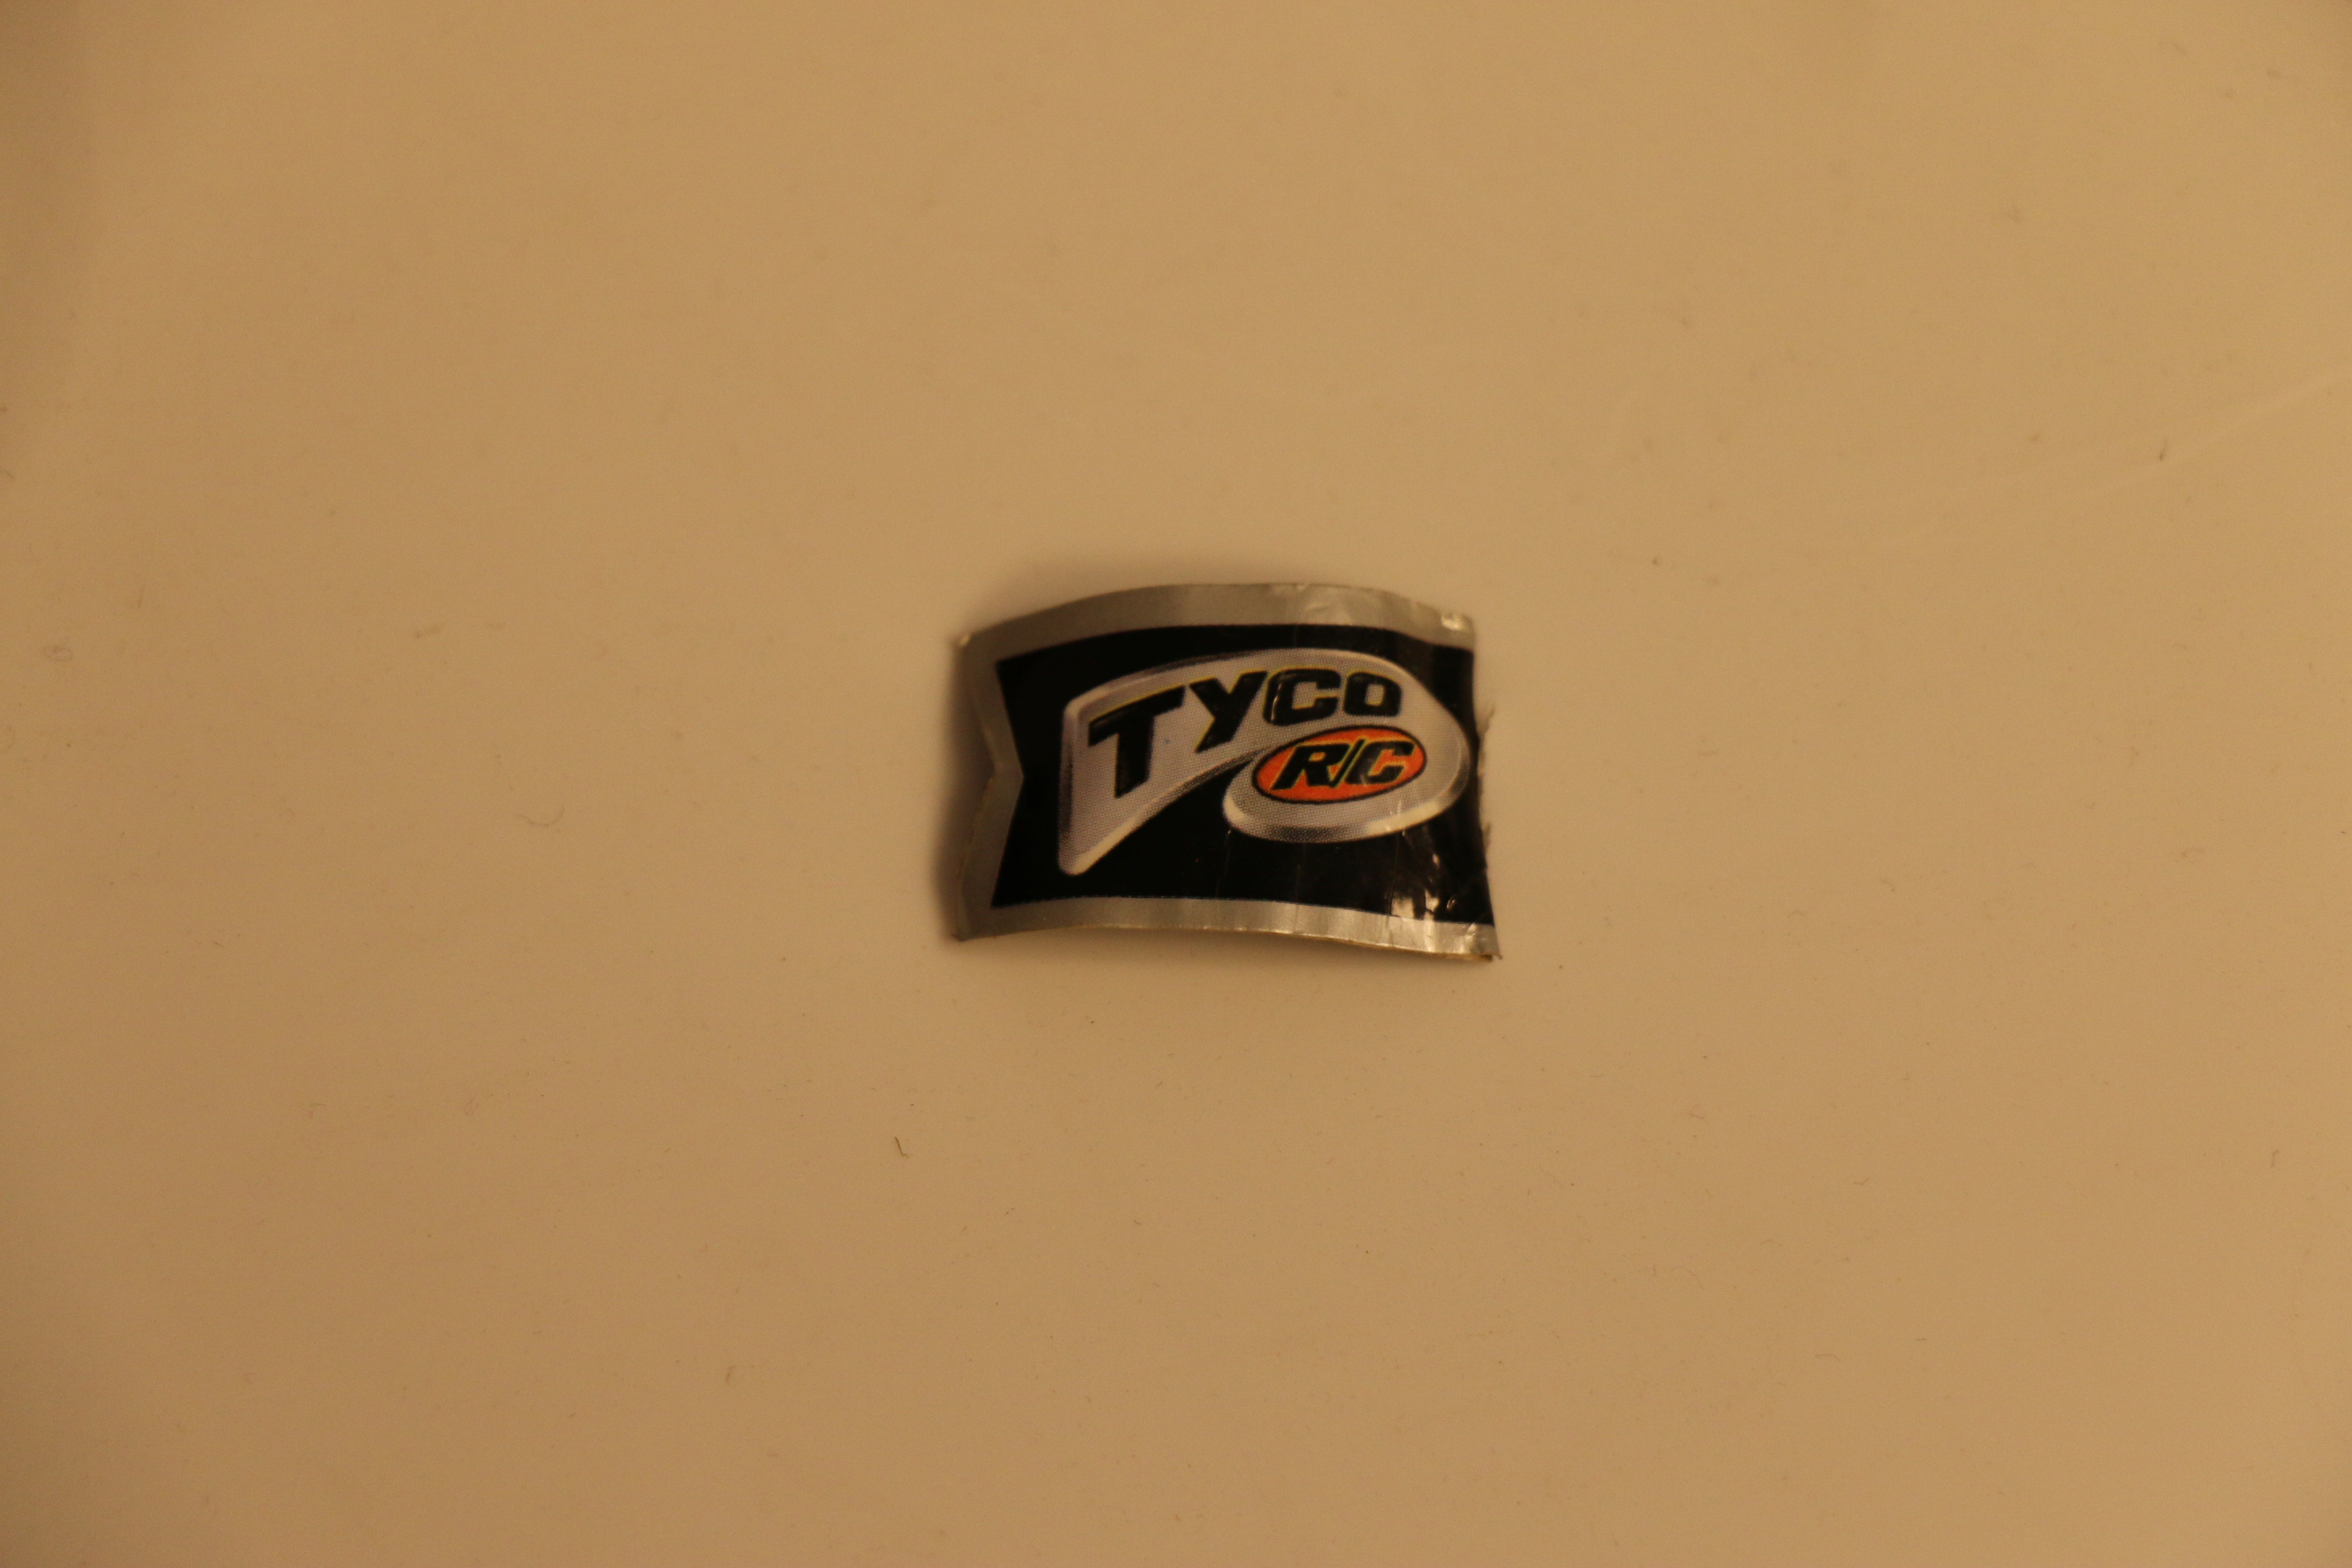
The body and engines separated cleanly from the chassis, but I encountered a small problem. The flag at the top of the radio antenna would not fit through the hole in the body through which the antenna was threaded. Since it was averse to being rolled tightly enough to fit, I decided to disconnect it from the antenna entirely:
With that, the body was successfully removed from the chassis:
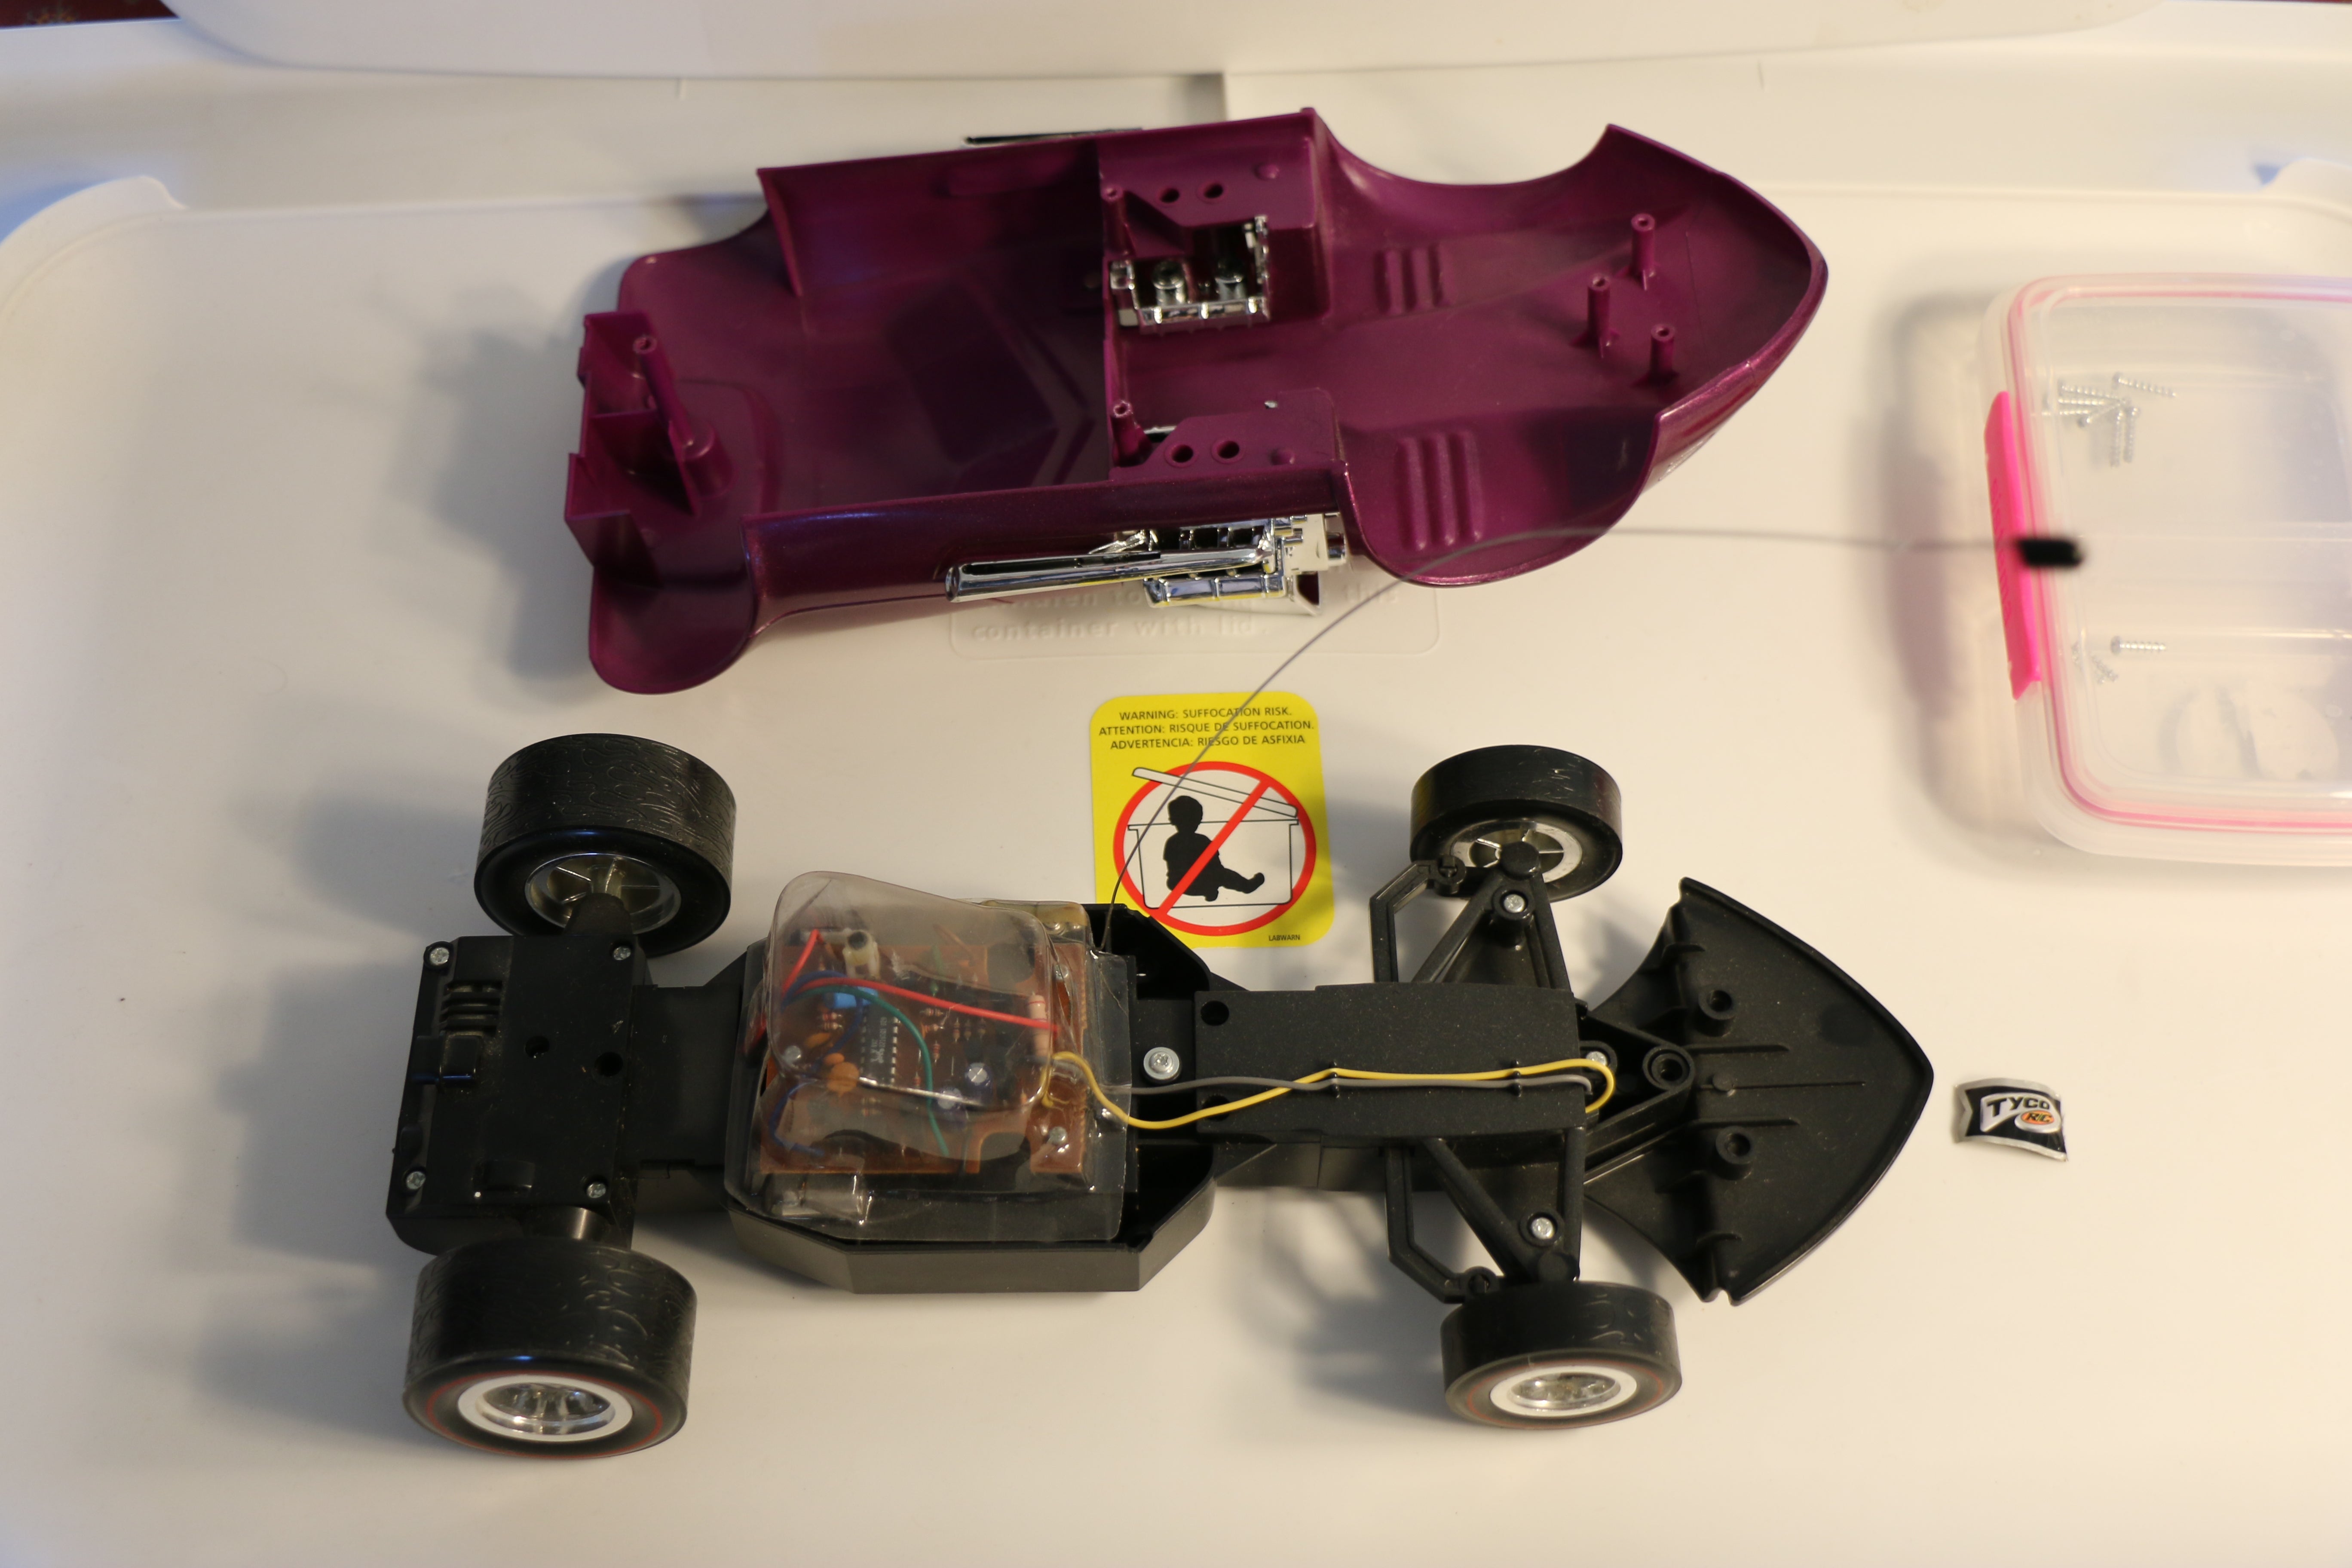
Yes, my workspace is fully comprised of tupperware lids and containers.
It was a surprisingly straightforward job. Interestingly enough, the electronic components had their own separate cover, not connected to the bodywork. This section seemed to have done its job of keeping dust from entering the more sensitive sections of the vehicle’s ECU, as there was a fine layer of dust on the rest of the chassis.
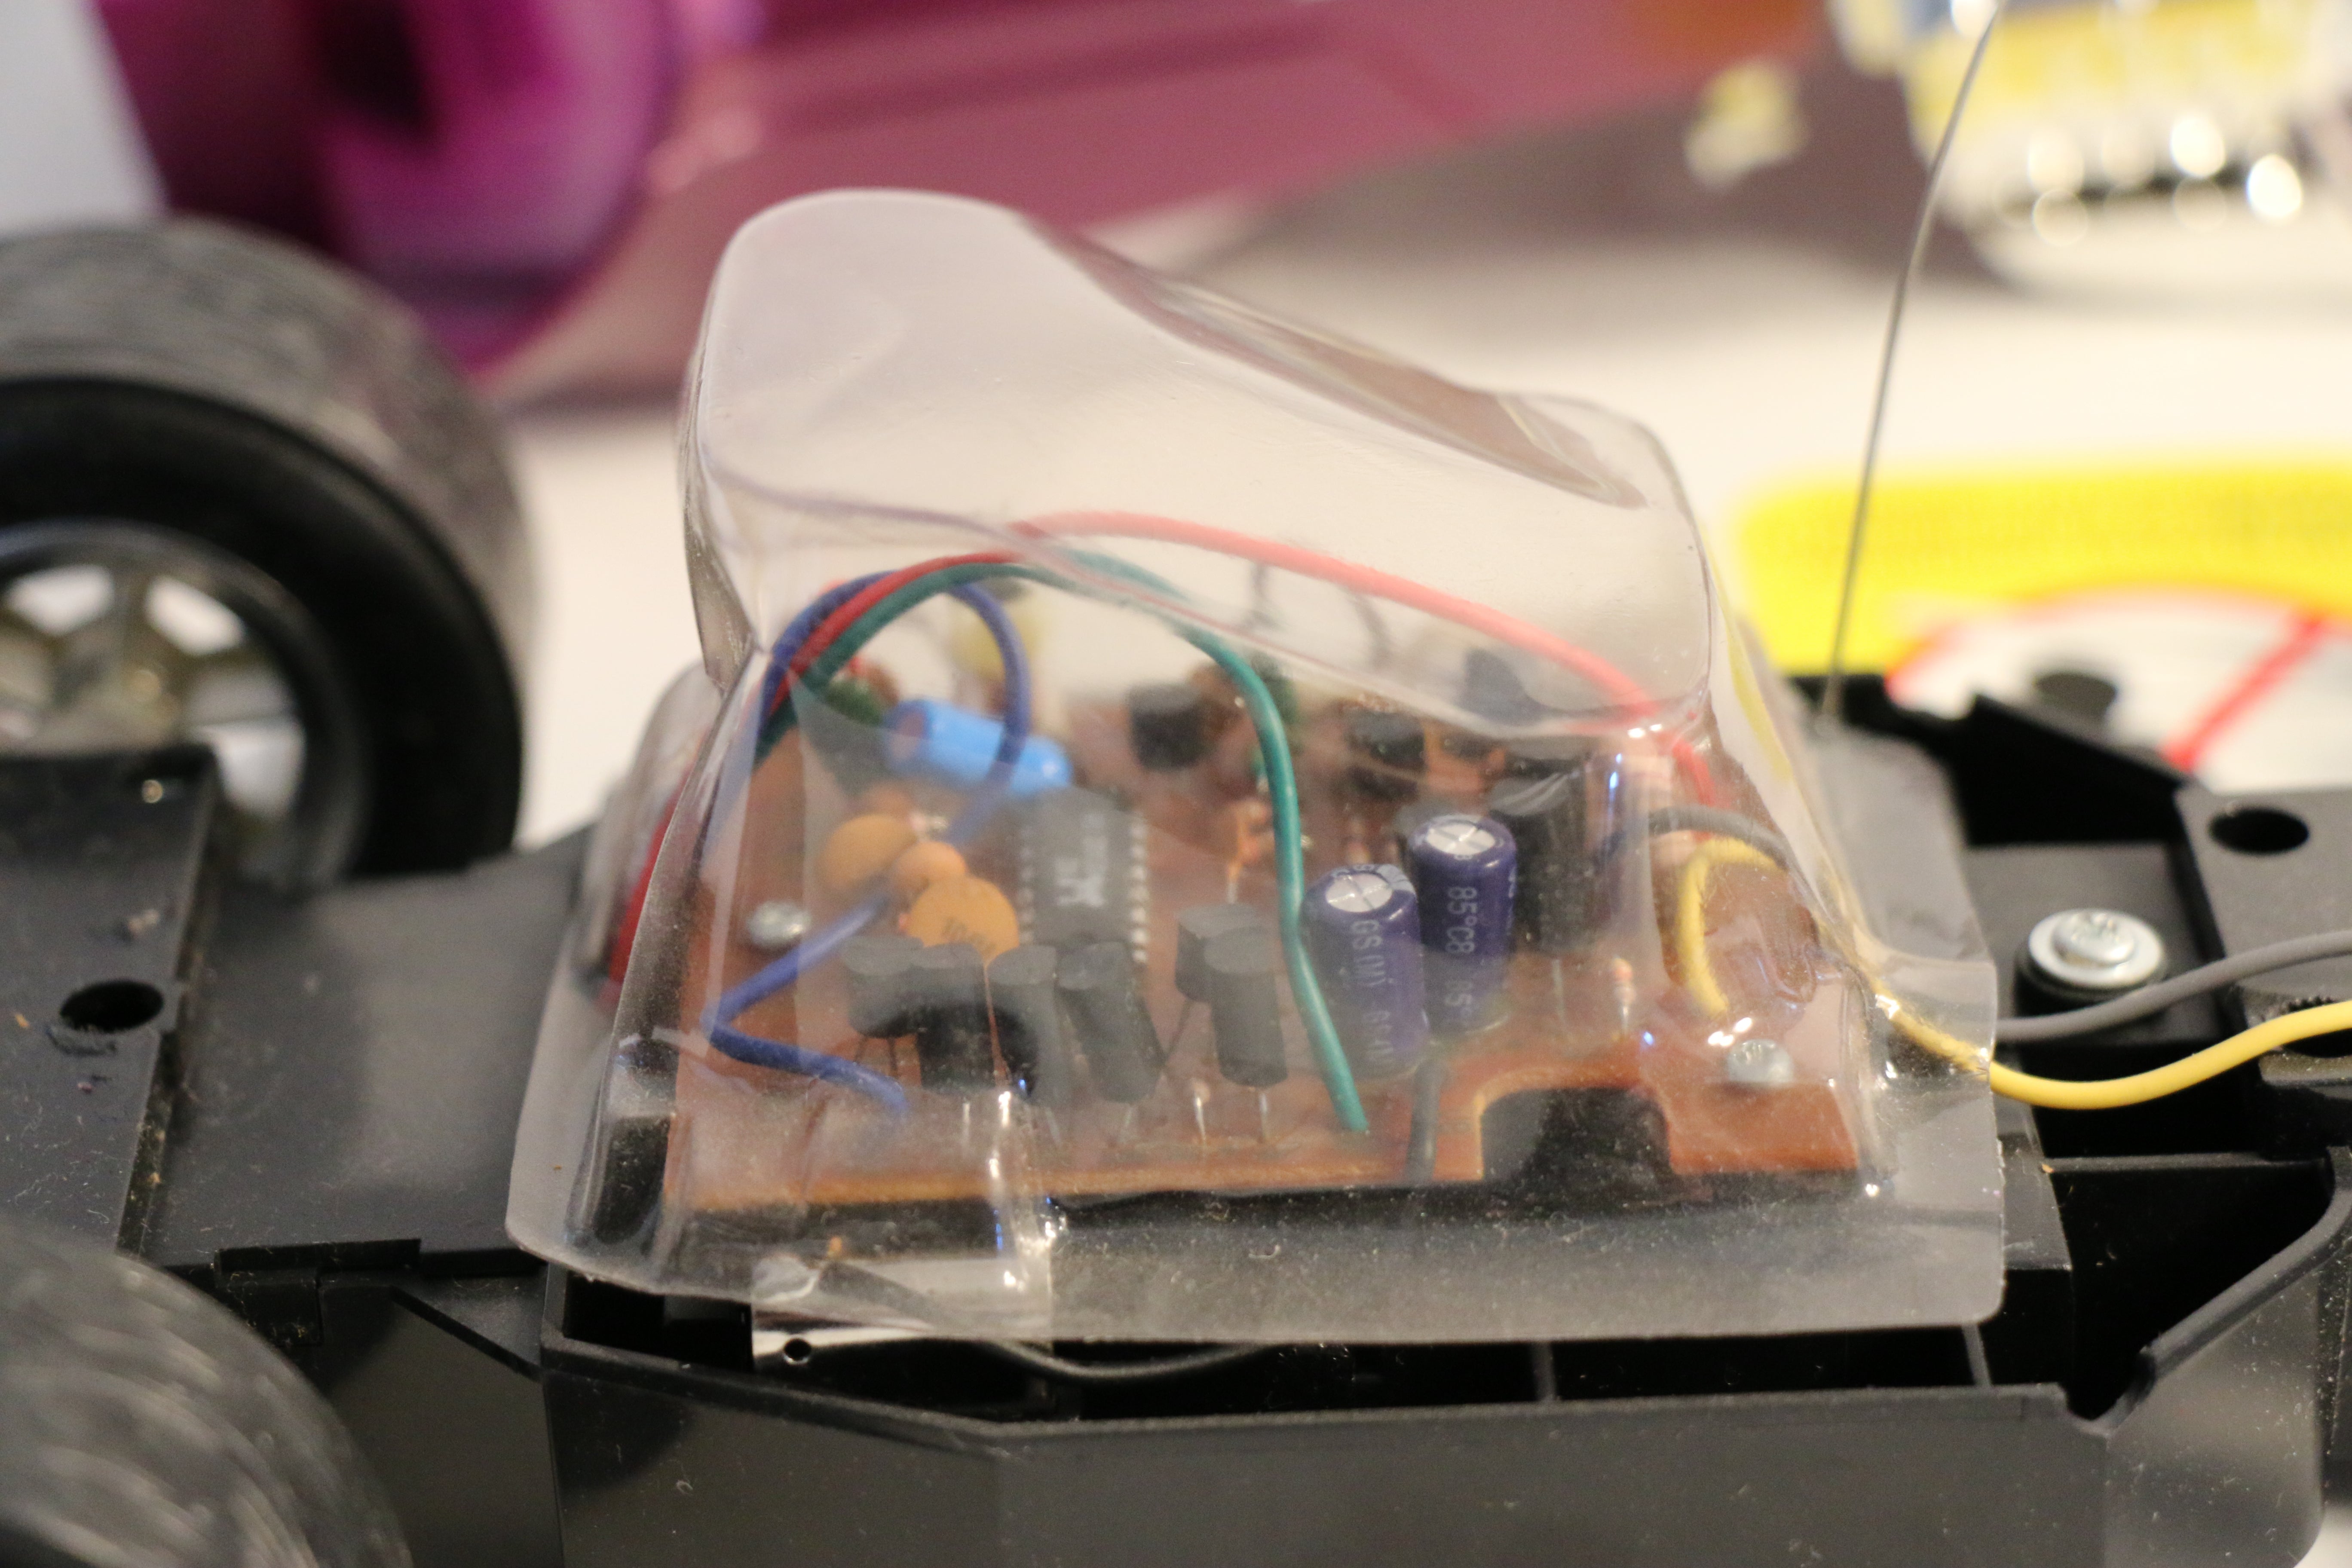
I’ll be working to disassemble the rest of the chassis next. In the mean time, here’s some more photo-documentation of the teardown:
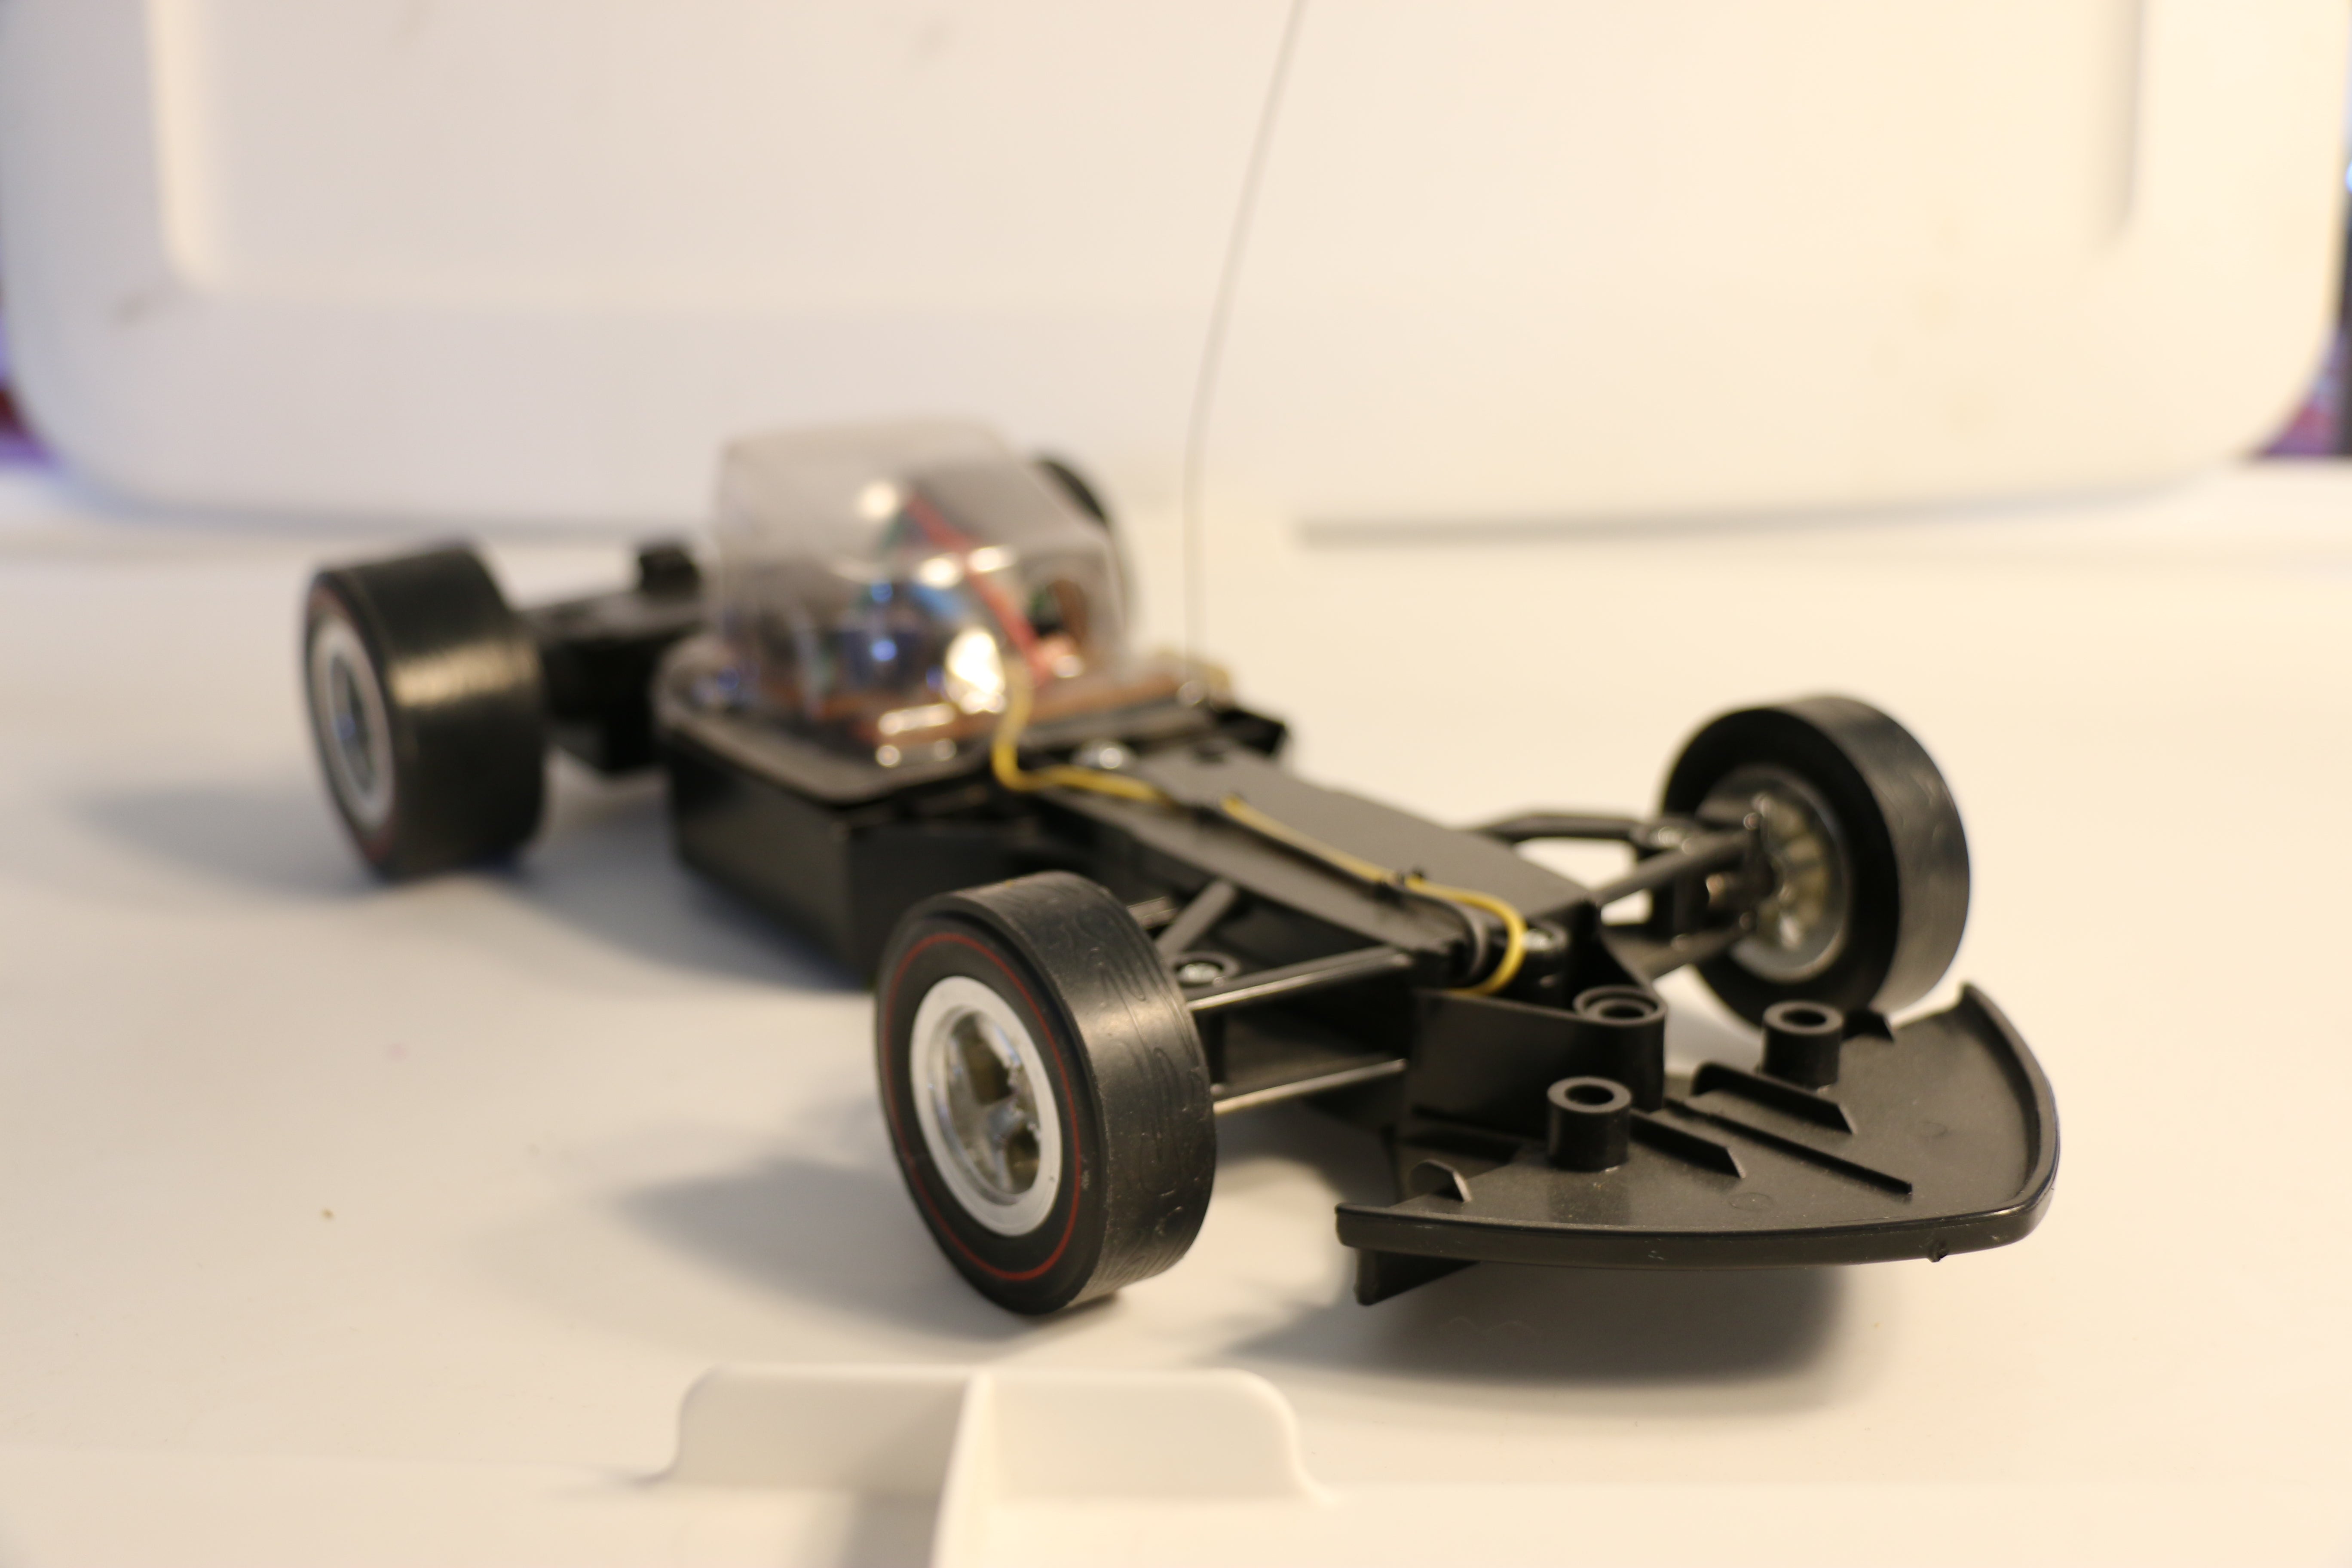
Can’t wait to see how the steering works...
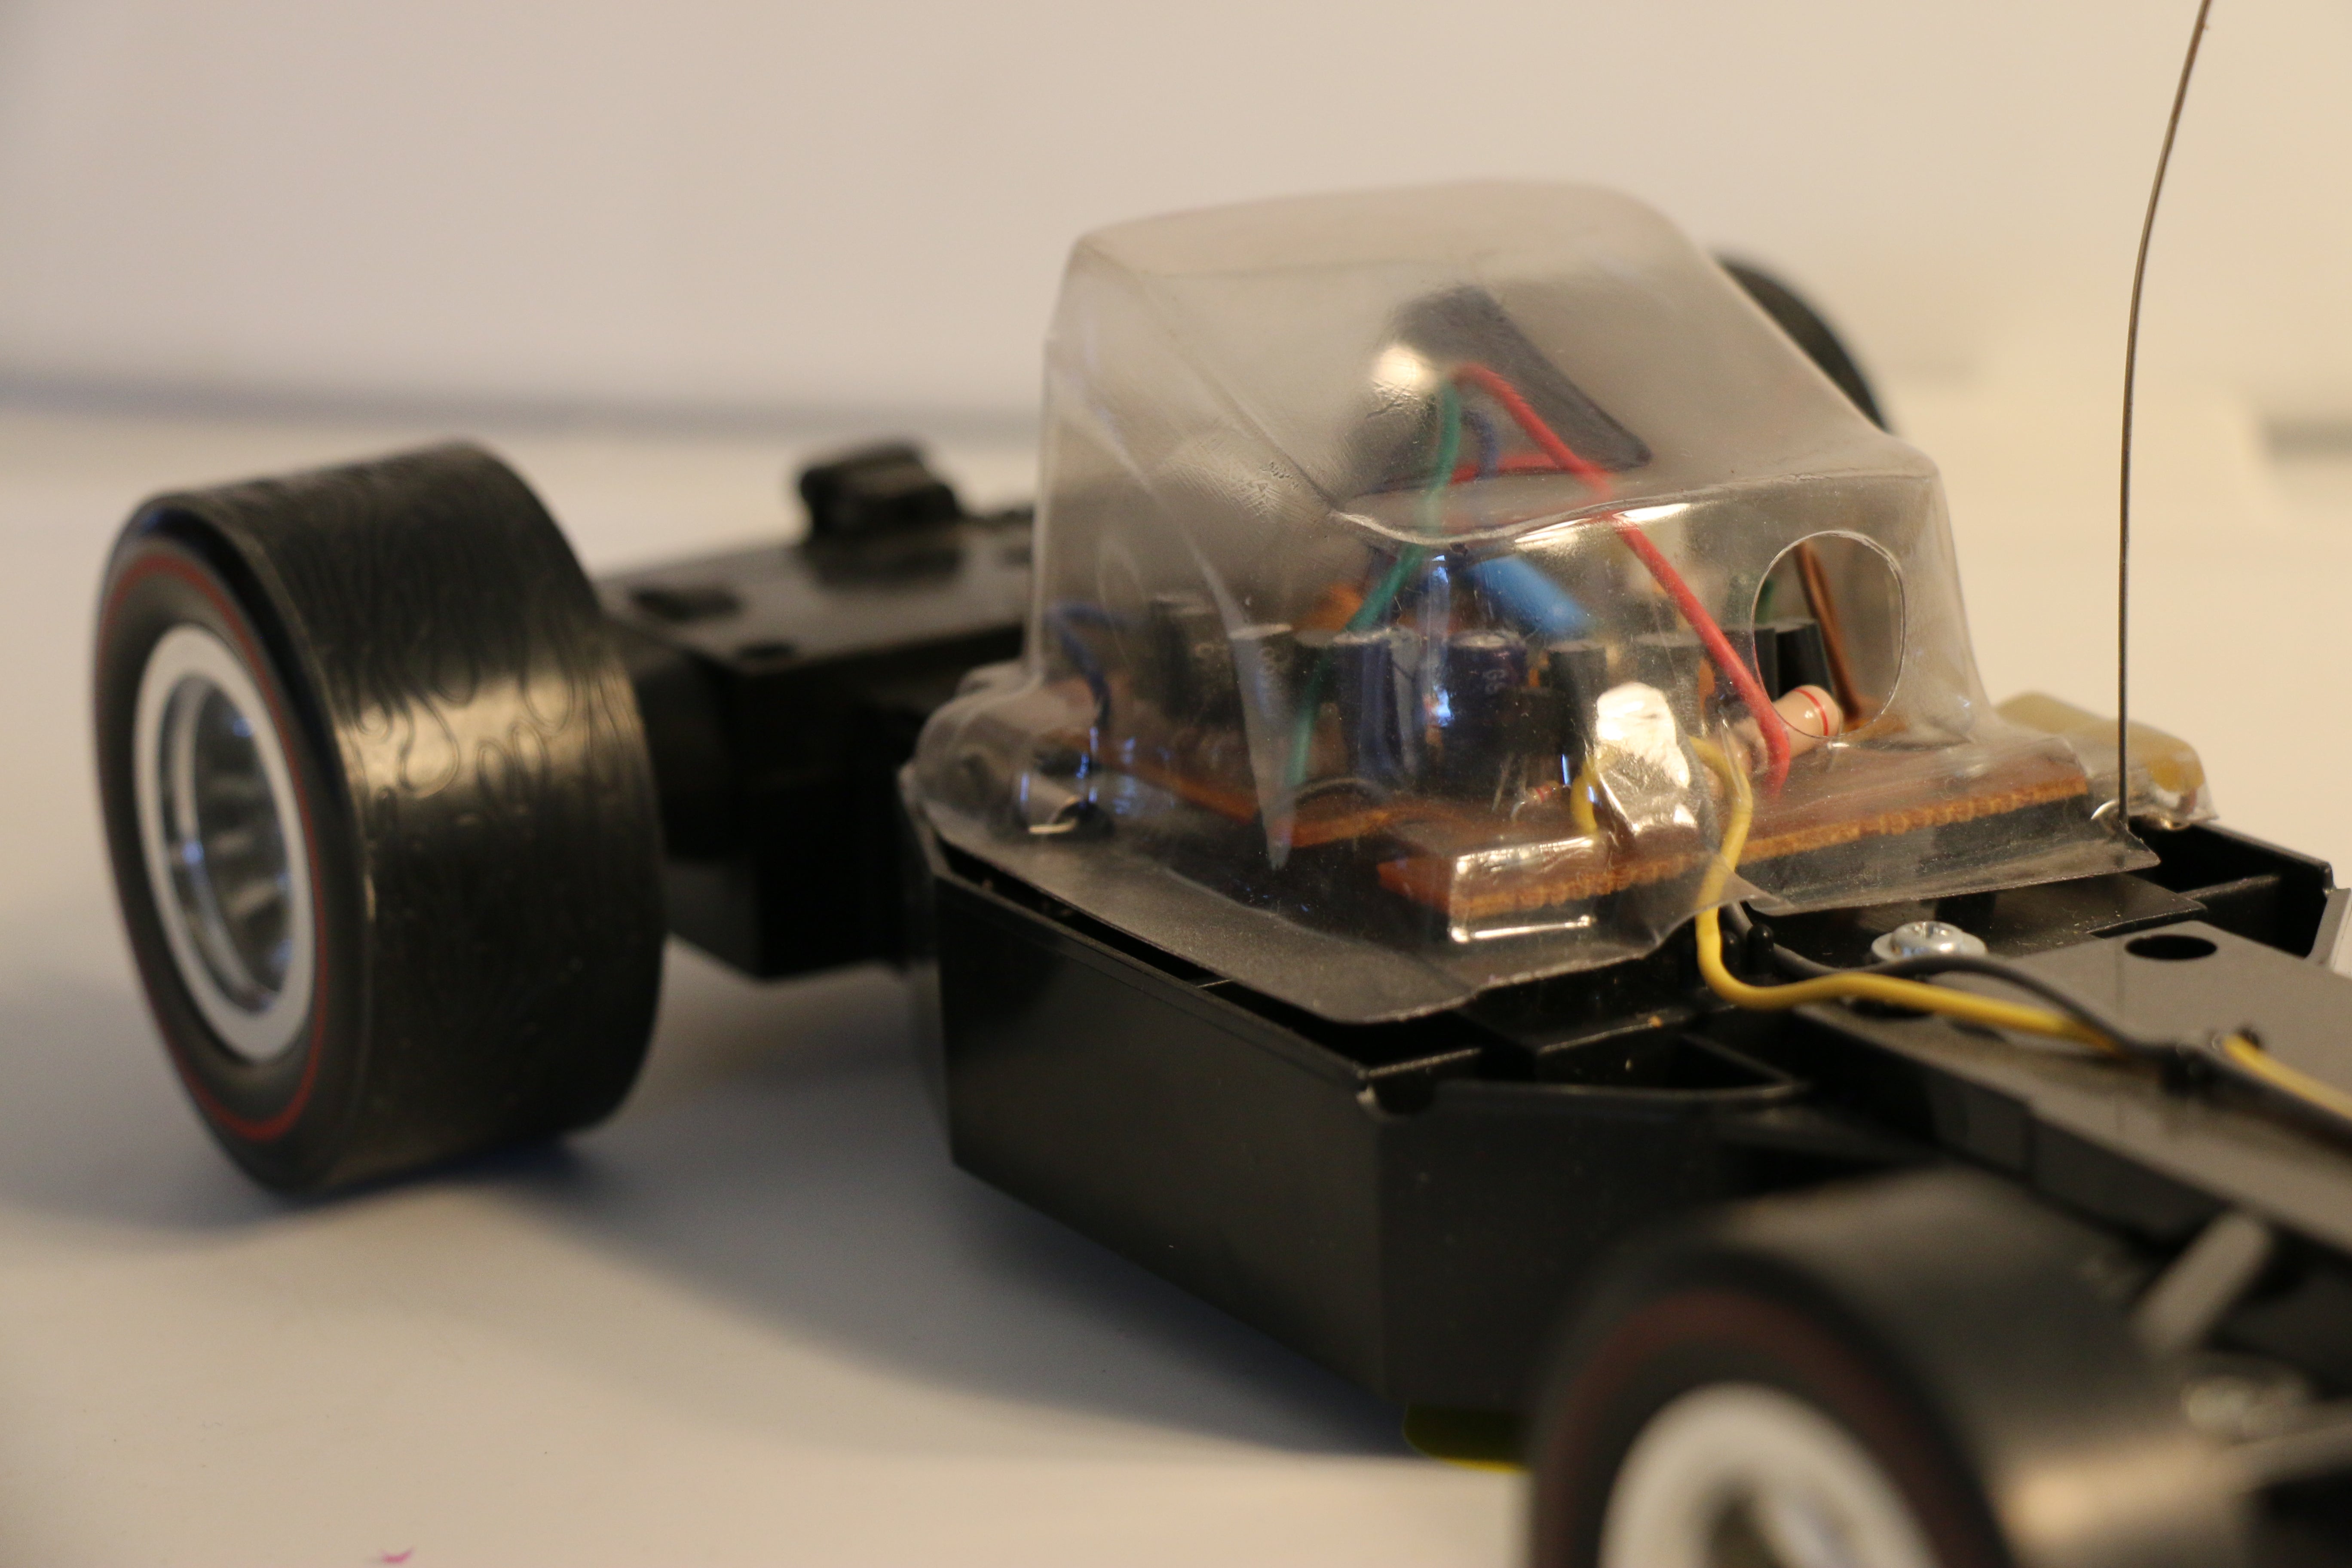
The permanent-magnet motor sits aft of the rear wheels. Found out when one of the bolts stuck to it by accident!
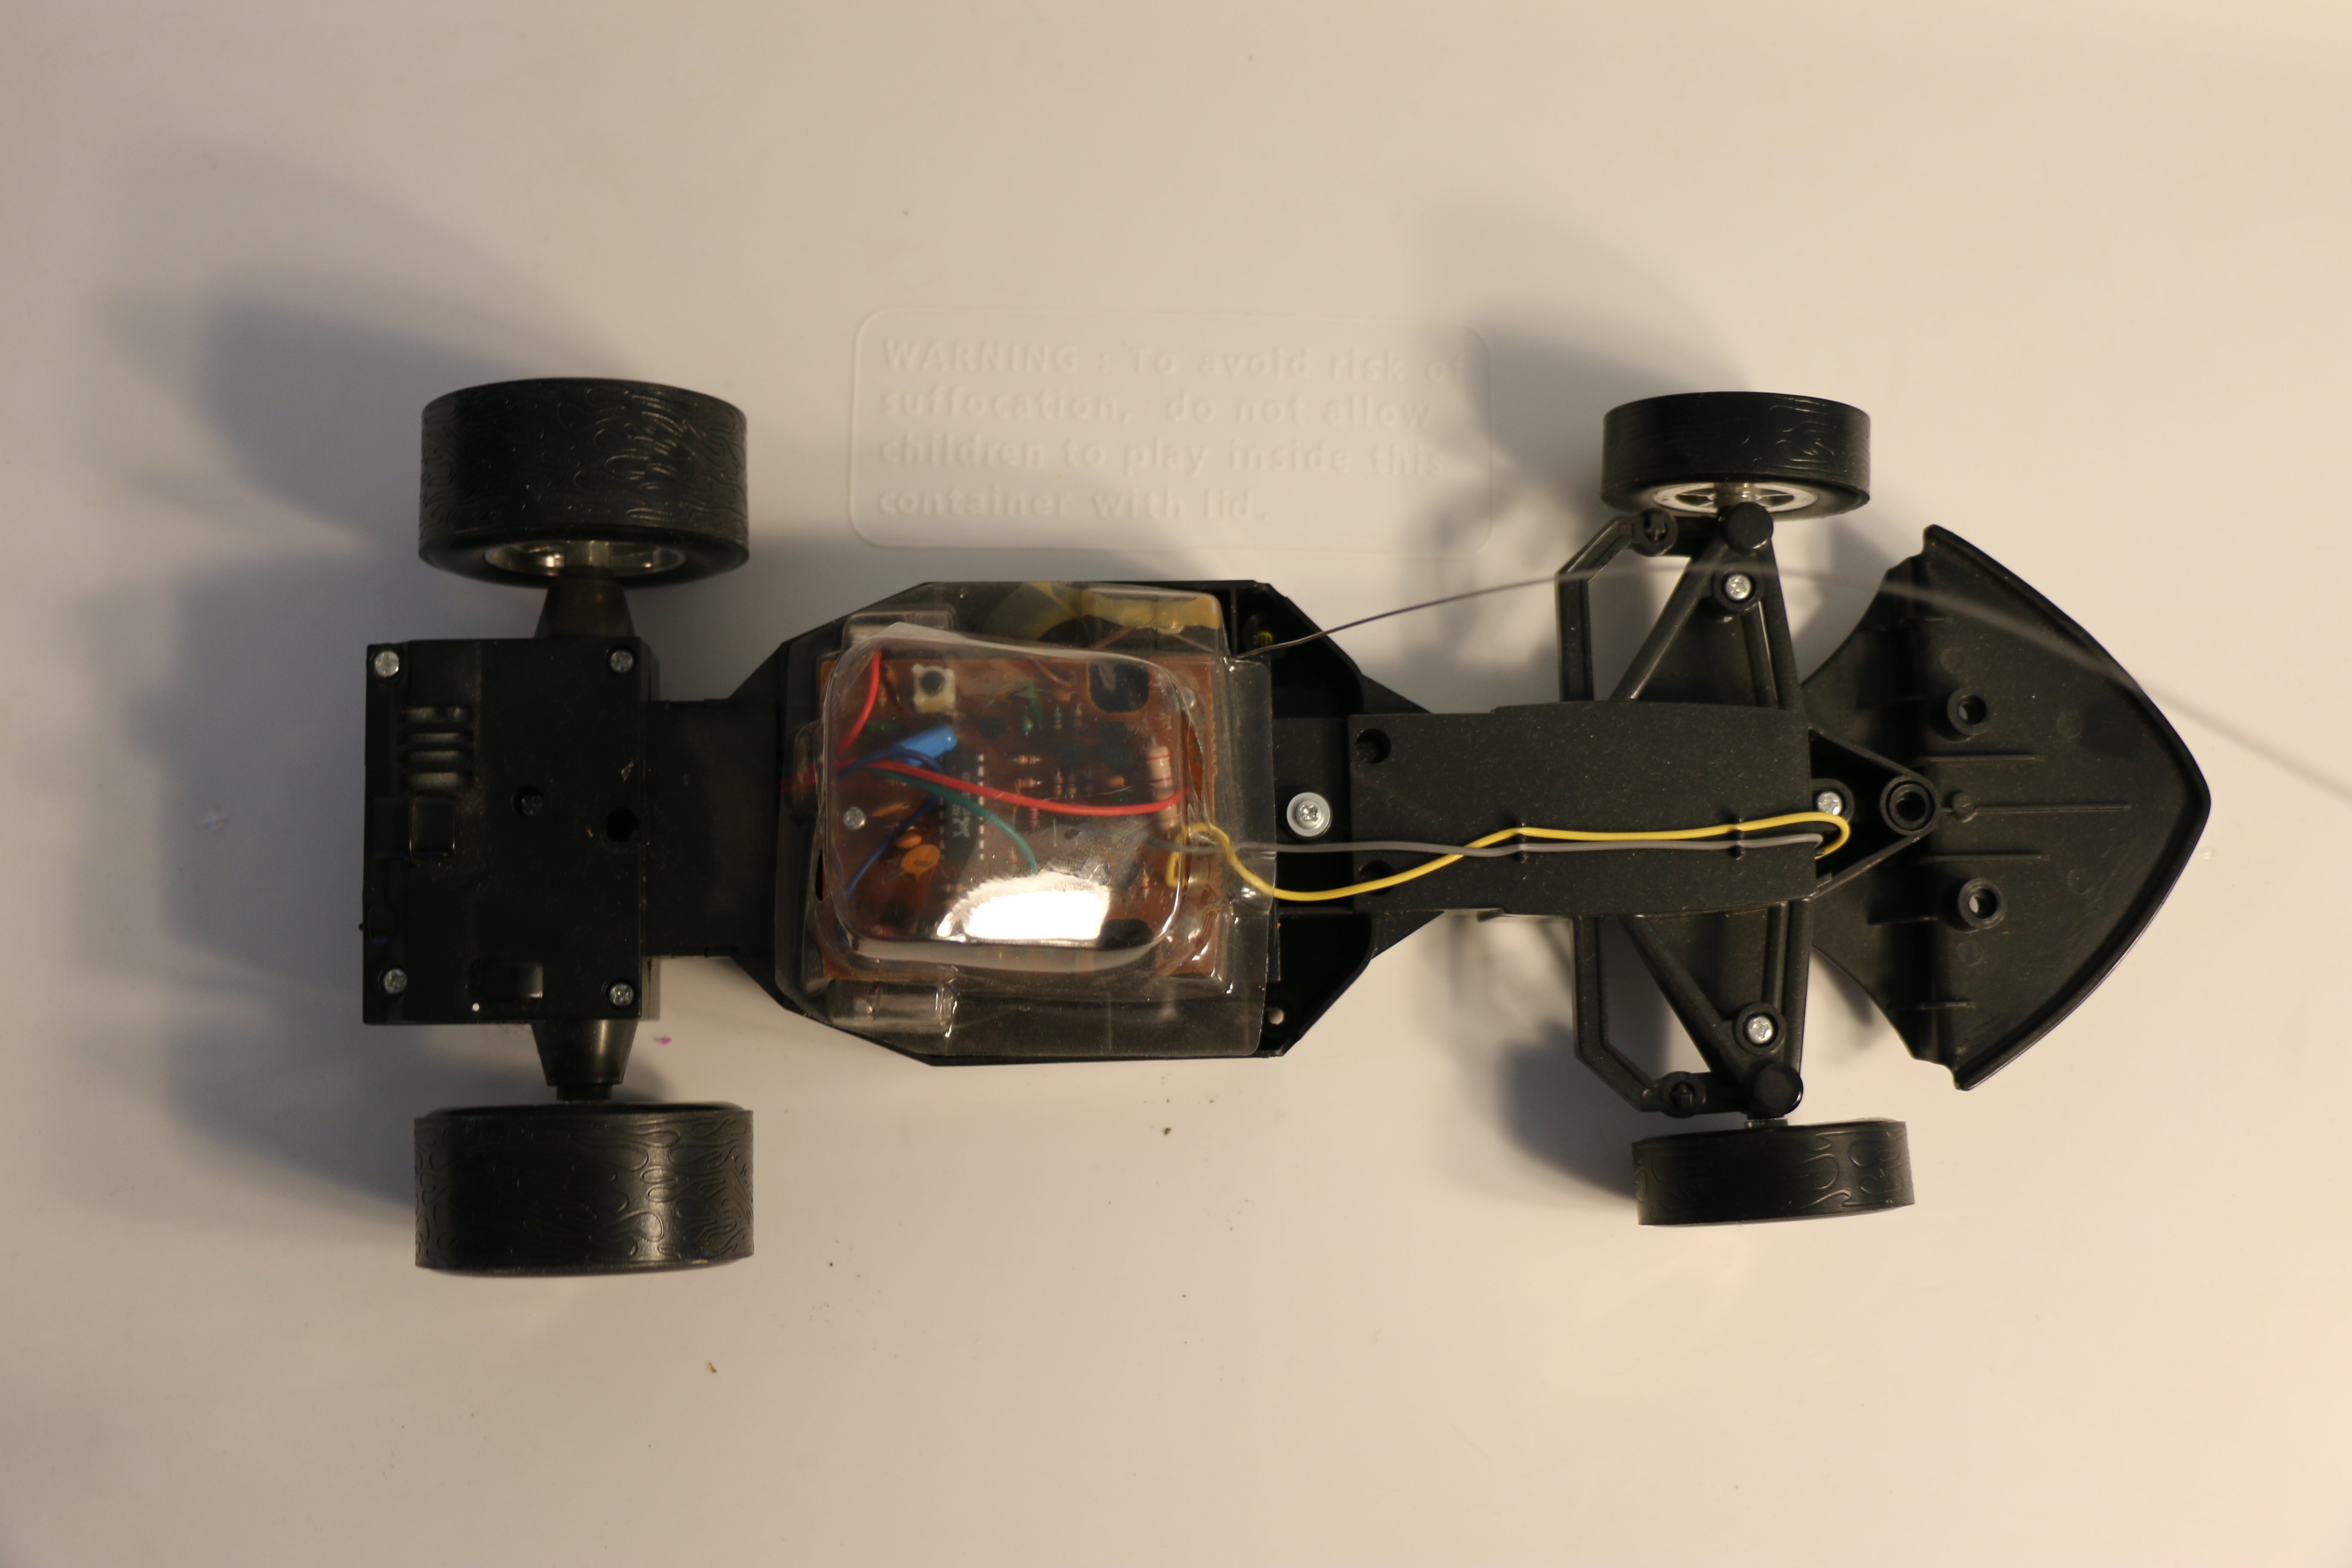
Top view of the chassis and electronics.
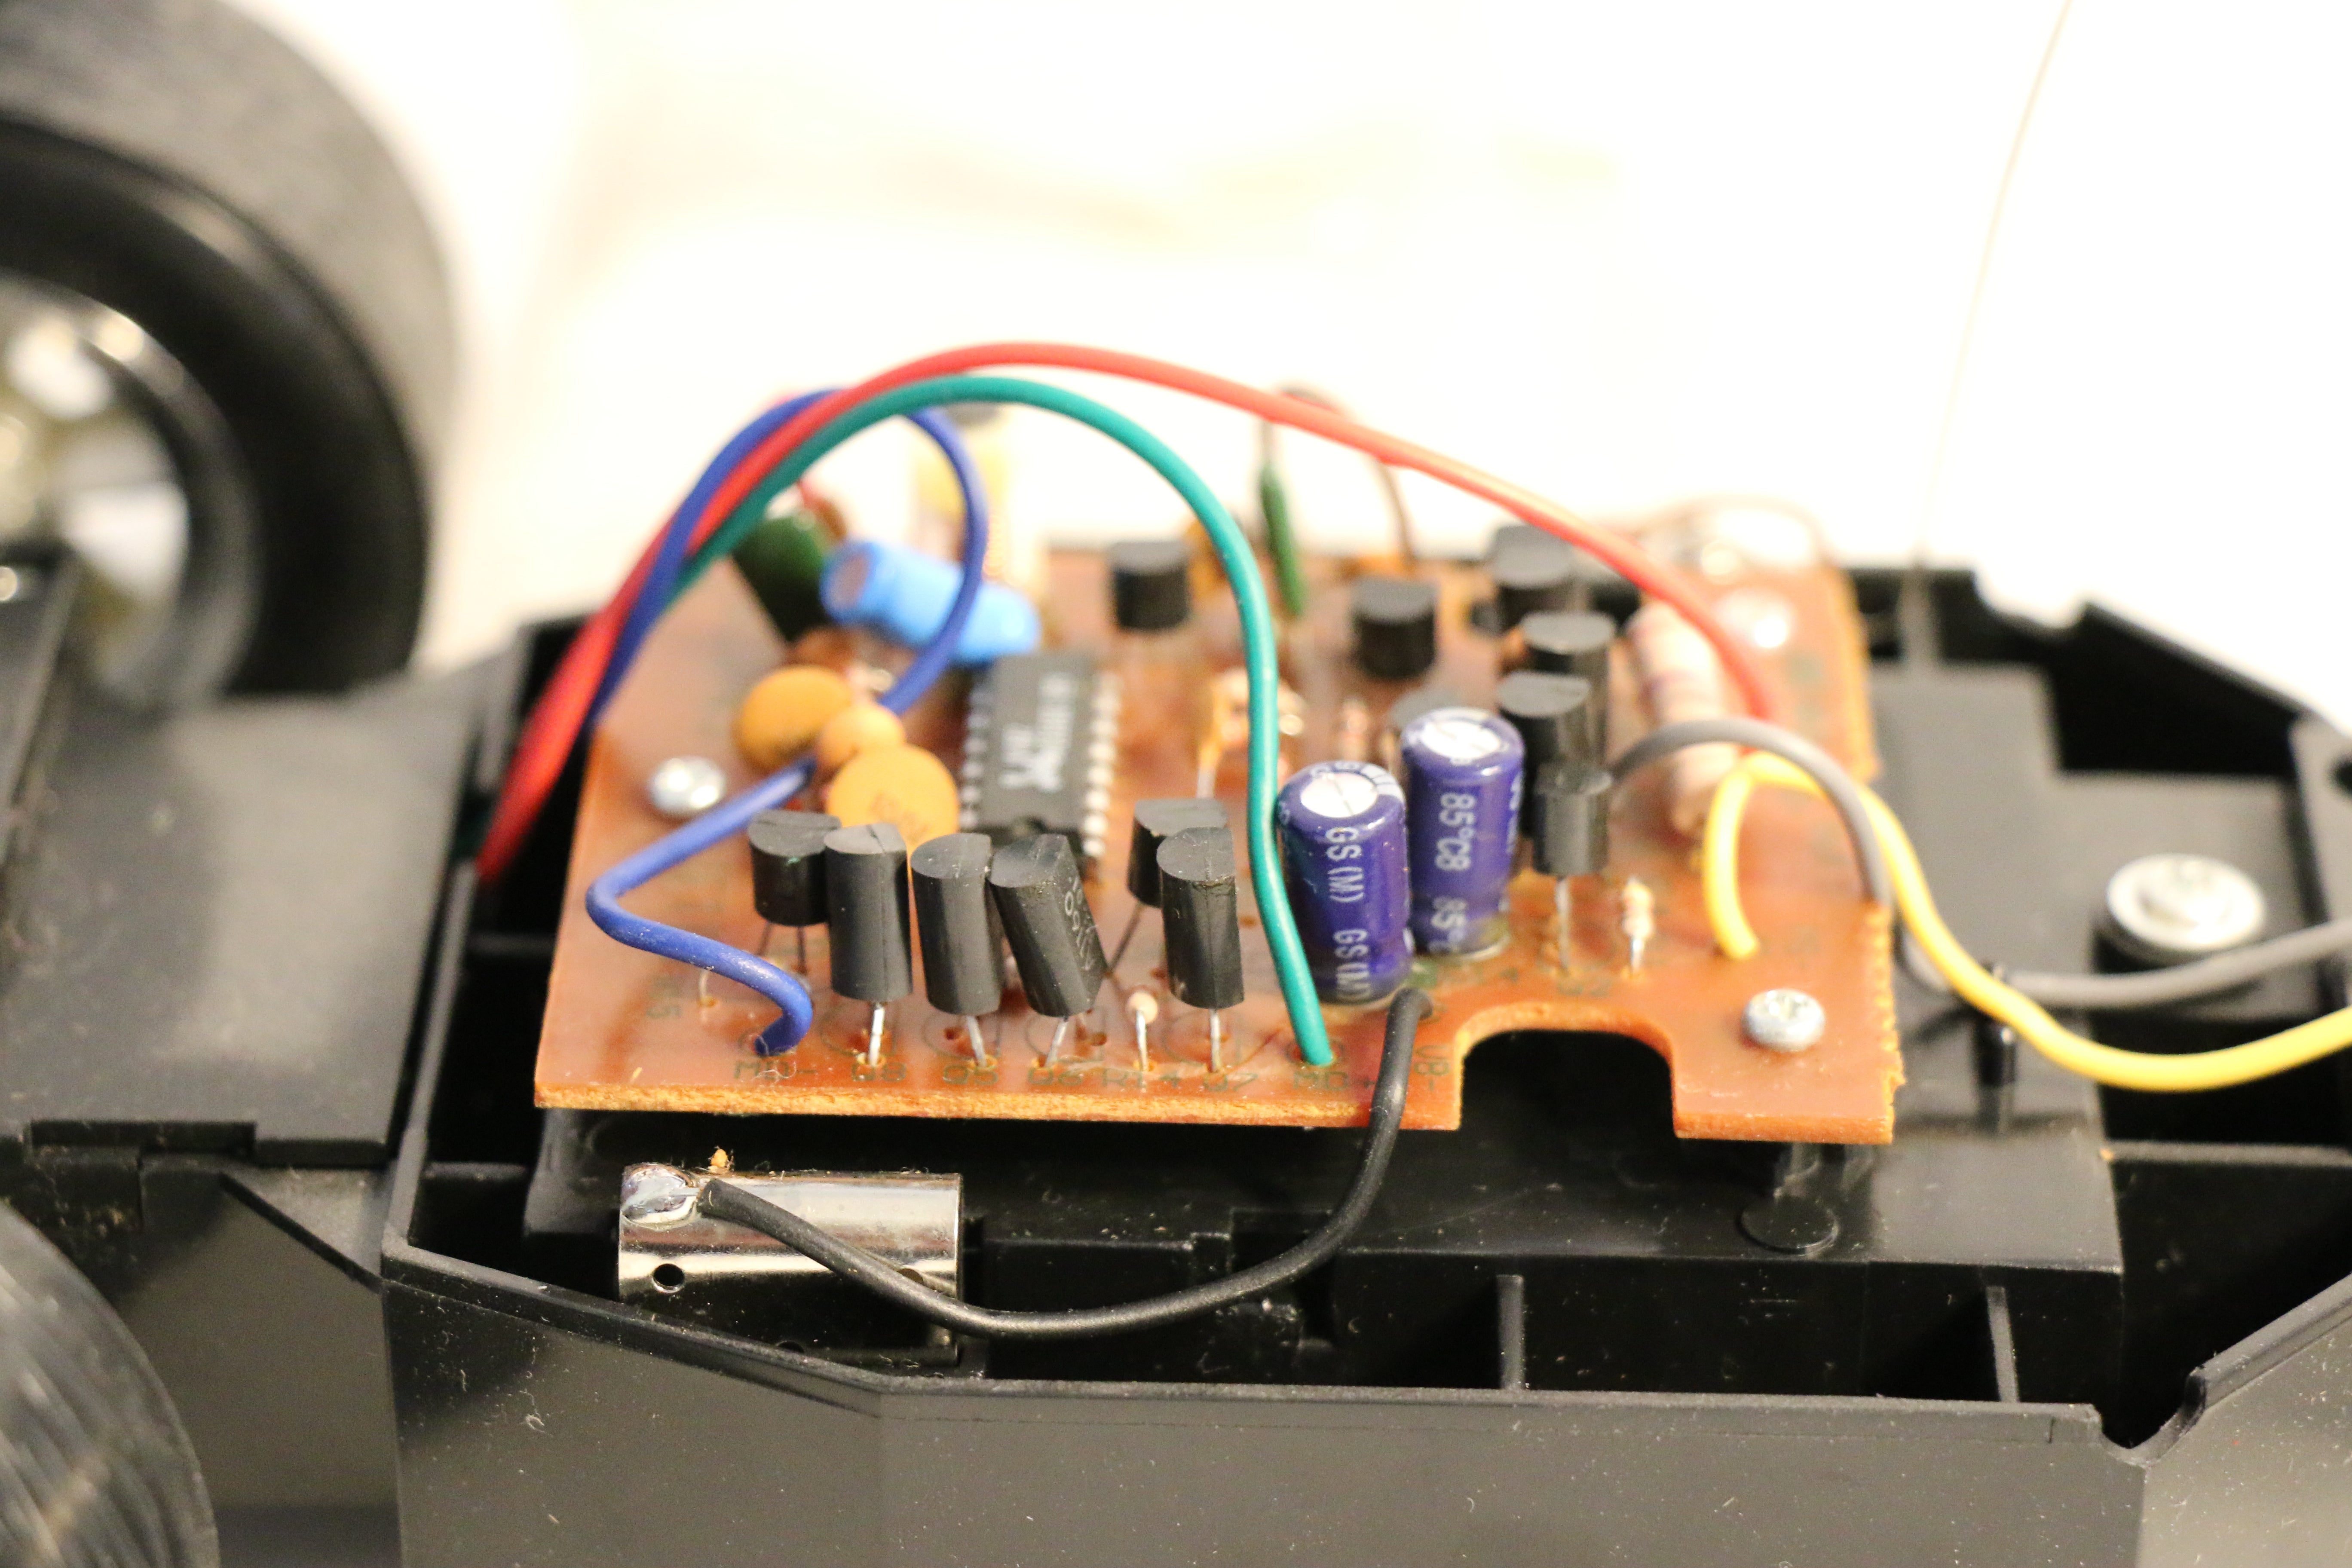
The circuit board.
Check out my original post if you haven’t already...
 pilaf
> way2blu does a rev update
12/29/2016 at 15:25 |
|
from looking at the original post, it seems you’re doing this in order to use a different controller, as the original is lost? I remember from my RC days that they only work on a small number of frequencies, and typically most toy ones only use a couple. From my experience, a lot of toy ones work on other toy ones...might just be easier to try various toy rc controllers and see if they work...
 way2blu does a rev update
> pilaf
12/29/2016 at 15:49 |
|
I’ll definitely be looking at finding a controller that works, might actually look at bluetooth controllers too if I end up replacing the electronic parts. Kind of like a drone, but more car.
 OPPOsaurus WRX
> way2blu does a rev update
12/29/2016 at 16:10 |
|
i like the flame tread patterns
 Jobjoris
> way2blu does a rev update
12/29/2016 at 16:41 |
|
This is what I call proper documenting. AWESOME! And it has... A 6.0V DP PowerClip!!! It is dead, but can you bring that back alive?
 way2blu does a rev update
> Jobjoris
01/02/2017 at 14:14 |
|
I’ll be looking at that soon, might go for a new battery system depending on the extent to which I decide to upgrade the car.
 way2blu does a rev update
> OPPOsaurus WRX
01/02/2017 at 14:15 |
|
If a car insults someone on the internet, does it put on flame tires instead of a flamesuit?